
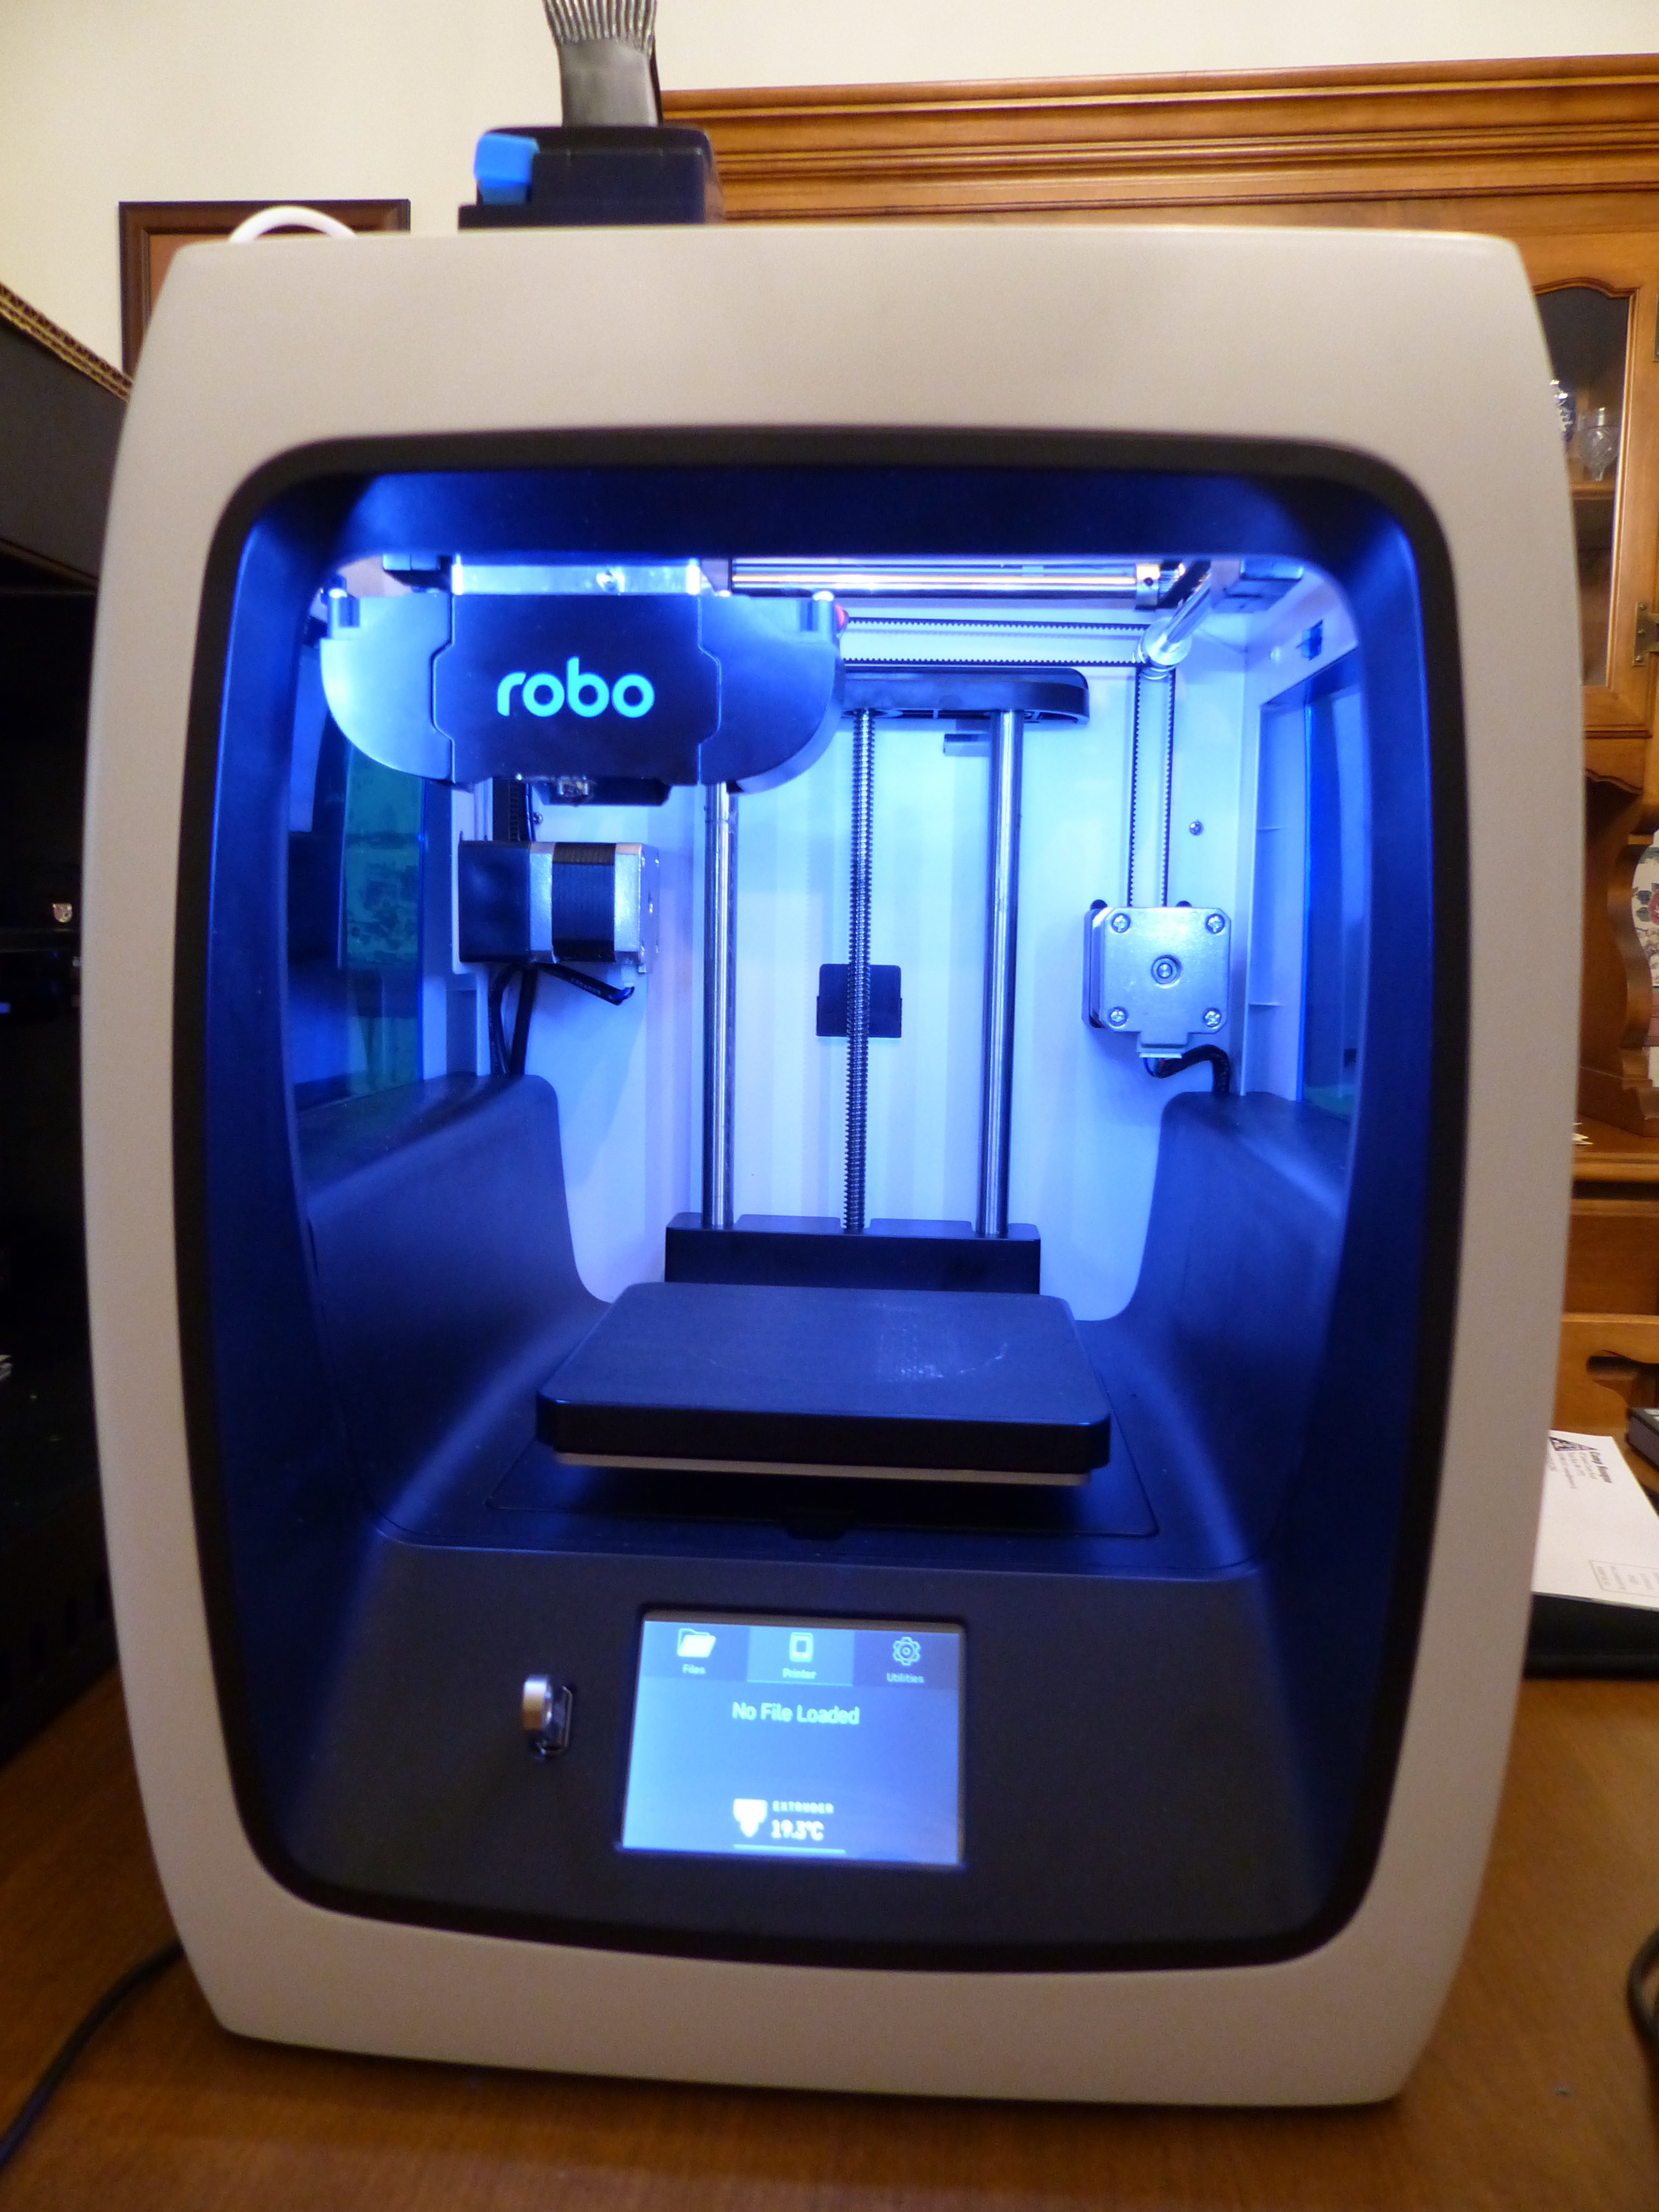
 I purchased a Robo C2 from Amazon 6 weeks ago, and figured it was time to collect my experiences to date. It came packed very well for shipping, lots of accessories and a small reel of filament. There apparently are not many out there yet. Let me start with the good: it has WiFi remote control with over-the-air updates using Octoprint (I’ve had at least 6 updates since I started using it), but it also has a USB front port for direct load of jobs, a color touch screen (though more on that later), automatic leveling (but some say not fully implemented yet), a nice aesthetic for design, and a fairly large build envelope for its overall size. There is a smartphone app to control it too. In general, mine seems very well built but there have been some problems out of the box. On the good side, I’ve gotten some fantastic prints out of it, but also some nasty failures.
This truly should have been a machine that would knock the competition out of the park. With some QC and tweaks it might eventually. But if my experience is any indication, as of now it just doesn’t. You expect a learning curve but if we are to have a reliable “appliance” there must be no points of major fail. So where does this machine fall short?
First there is no heated bed. OK, not a show stopper – without a heated bed there are still loads of filament options. I’ve tried PLA (good), TPU (limited success), PVB – Polymaker’s new alcohol polished filament -(OK but not consistent). Obviously ABS is out. There are grades of enhanced PLA (Polymaker PolyMAX PLA) which also have worked well. For now though my best machine for TPU has been my Monoprice Makerselect.
I’ll start with a minor annoyance. The first thing you notice after you turn it on is the head cooling fan. And by the way, my power switch is “backwards.” The machine turns on when the circle is depressed but the convention is for the line to be “on.” In IEC 5007 standard, the power on (line) symbol, appears on one end of a toggle switch that the control places the equipment into a fully powered state. It comes from the binary system (1 or | means on) – thus “0” means off… The electronics are neatly out of the way in the base of the machine. There is a Raspberry Pi board on the left side and a Robo control board on the right.
So, that extruder fan runs at full blast all the time even if the extruder is cold… I have not checked but either the fan is a sleeve bearing design or maybe just noisier that others of its type, but that has not been the biggest issue. Now you might ask “why is fan noise an issue?” Answer: this is meant to live in a room like a classroom or other living space and who wants a thresher running at all times? Somewhere I thought there was a control for that fan but I have not found it in the C2’s menus just yet…
But a much bigger concern is this: If you look at the various support boards you’ll see that getting the Z offset right has been a big gap in this machine (sorry for the bad pun…). The build plate has 4 magnets that stick it to 4 acorn nuts. Two of my magnets were loose (clearly they were force fit at the factory, but with time the plastic creeped – so with a little superglue I got them fixed. On first use you manually level the bed by using the “Wizard” for leveling. So far so good. It calls for a piece of paper to be the gapping tool. However, if you use a single sheet of copy paper (at least for my unit) the head will go crashing into the build plate. What works for a gap tool is the heavy, single-layer cardboard you find backing a 9V battery package. Yes, that is many times thicker than a piece of copy paper… but for me it works. I destroyed several sheets of the black painter tape pads that cover the plastic bed before landing on that solution. To date I’ve not seen this addressed, and I also gouged out the build plate too. You can adjust the temperature, feed rate and fan % on the fly but not the Z offset. I would like to be able to dial in a change to the Z offset from the front panel, but if there is an option for that I did not find it. And in a recent update, the Z offset values after calibration have shifted from around 5mm to 14mm with no explanation as to why. As you might suspect, getting the Z offset exactly right is critical to getting a successful print.
Which takes me to the next issue. The Z stage design is typical – supported by two large rods with the Z screw in the middle of them. There is a bearing at the top of the Z screw to stabilize the end. That bearing came loose – again just force fitted like the build plate magnets and over time it popped out of the hole. There is nothing to positively keep it in place. Thankfully that is a trivial fix. Gently pushing on the front of the aluminum plate that attaches to the Z axis mechanics, you find that there is considerable mechanical “slop” or twist. It is as if the linear bearings are not correct for the shafts or the mount is not firmly attached to them. The play is at least 1-2mm at the front and you can clearly see the shift at the rods. Try this with a Wanhao D6 and you’ll get nowhere (these machines are the same price and incredibly rigid).
As for the touch screen, it is resistive – meaning the response is a bit slow. You can’t expect it to behave like your capacitive screen on your smart phone or tablet. I’ve adjusted to it but sometimes you want fast response – like when you are in a hurry cancelling a job when the head crashes into the build plate. The interface is full of features, they are logically arranged, but here and there one is left with some puzzling options. You can remove filament and reload through the Filament Change wizard. But if all you want to do is unload, there is not a direct option. So I ran the wizard up to getting the filament unloaded, then tried to use the “back arrow” to return to the main menu – nope – crash goes the interface and all I could do was shut it off and reboot.
Another thing I’ve noticed is the WiFi connection seems to get lost after a job starts. Restarting the Cura software (a customized version for Robo) usually seems to fix that. I have other 3D printers on my network (MakerBot, Mod-T) that never have this issue. Perhaps this is more a bug with the version of Cura that Robo supplies for this machine (2.3.1).
So I plan to continue testing this machine (of course with filament that does not require a heated bed). On wonders why not a glass plate instead of painter’s tape? If the IR sensor for leveling needs black, surely black glass might work?? Or how about BuildTak(tm)? I’ve created a CAD model of the build plate and will try BuildTak(tm) on it instead of black tape. If it works, look for it on Thingiverse! Thankfully Robo is sending me a new original one on warranty, but at the moment you can’t purchase them for extras.
More details to come and pictures as I get some time in the next few weeks.
UPDATE 5/08/17: I made a request to customer service concerning my crashed build plate and not too long after someone got back to me with a form to submit for a replacement. And a few days later I received not one but two new plates! This time, the magnets were glued in place (a bit of fog on the plastic from the cyanoacrylic glue was evident). In the mean time, I had replaced the tape on my original with BuildTak(tm) custom trimmed to fit. After resetting the gap, it works really well. Because the BuildTak is stiffer and a bit thicker than the painter’s tape pads it comes with, the craters in the top of the surface don’t matter. So I’m saving the new plates for later. I’ve lost count of updates, but things keep getting better. Print quality is great at the default (100 micron) layer thickness and the WiFi connection is not lost as much, though it still does. So it looks like they are serious about perfecting this machine, and I’m getting much more consistent prints. I still need to post some pictures – soon!
UPDATE 7/11/17: Wow, things have come a long way since the release. I lost track of the updates but the most recent one was quite a refresh of the user interface and one that makes sense to me. And the older customized Cura 2.3 client has been replaced with Cura 2.5 customized for the 2 series machines. What a difference! No more dropped WiFi connections for one. And the prints are outstanding at the “default” 100 microns.
So clearly Robo made a huge effort to get this into shape and with all of the updates I can fully recommend this model, and the R2 unit too (just got it and a review is being written this week).

You must be logged in to post a comment.