Well, it finally came.  The box was in decent shape, despite its long journey from China. I will not post unboxing pics simply because there are plenty of others out there already, though I’m in the first wave (batch of 200) that were shipped to consumers. Thankfully I had the benefit of several others that got theirs Tuesday or Wednesday this week and posted their trials and tribulations.
The interesting thing about mine was like the old “prize in the Cracker Jack box.” You knew there was one in there, but where? Yes, my Press had a special “prize” inside all the way from China! As I unpacked it, I noticed a bit of tangled extruded filament at the left rear corner of the build envelope.  But as I went to extract this obviously extraneous stuff, I heard a noise of like a piece of plastic dropping inside the machine. Well, it turned out that they left the test print inside the machine, and with shipping, it became dislodged. Trust me, it wasn’t easy getting it out – I had to turn the machine upside down and gently shake it. Unlike the SD2/3/4 Brooklyn machines, this one is full of shrouds and panels to hide much of the mechanics.
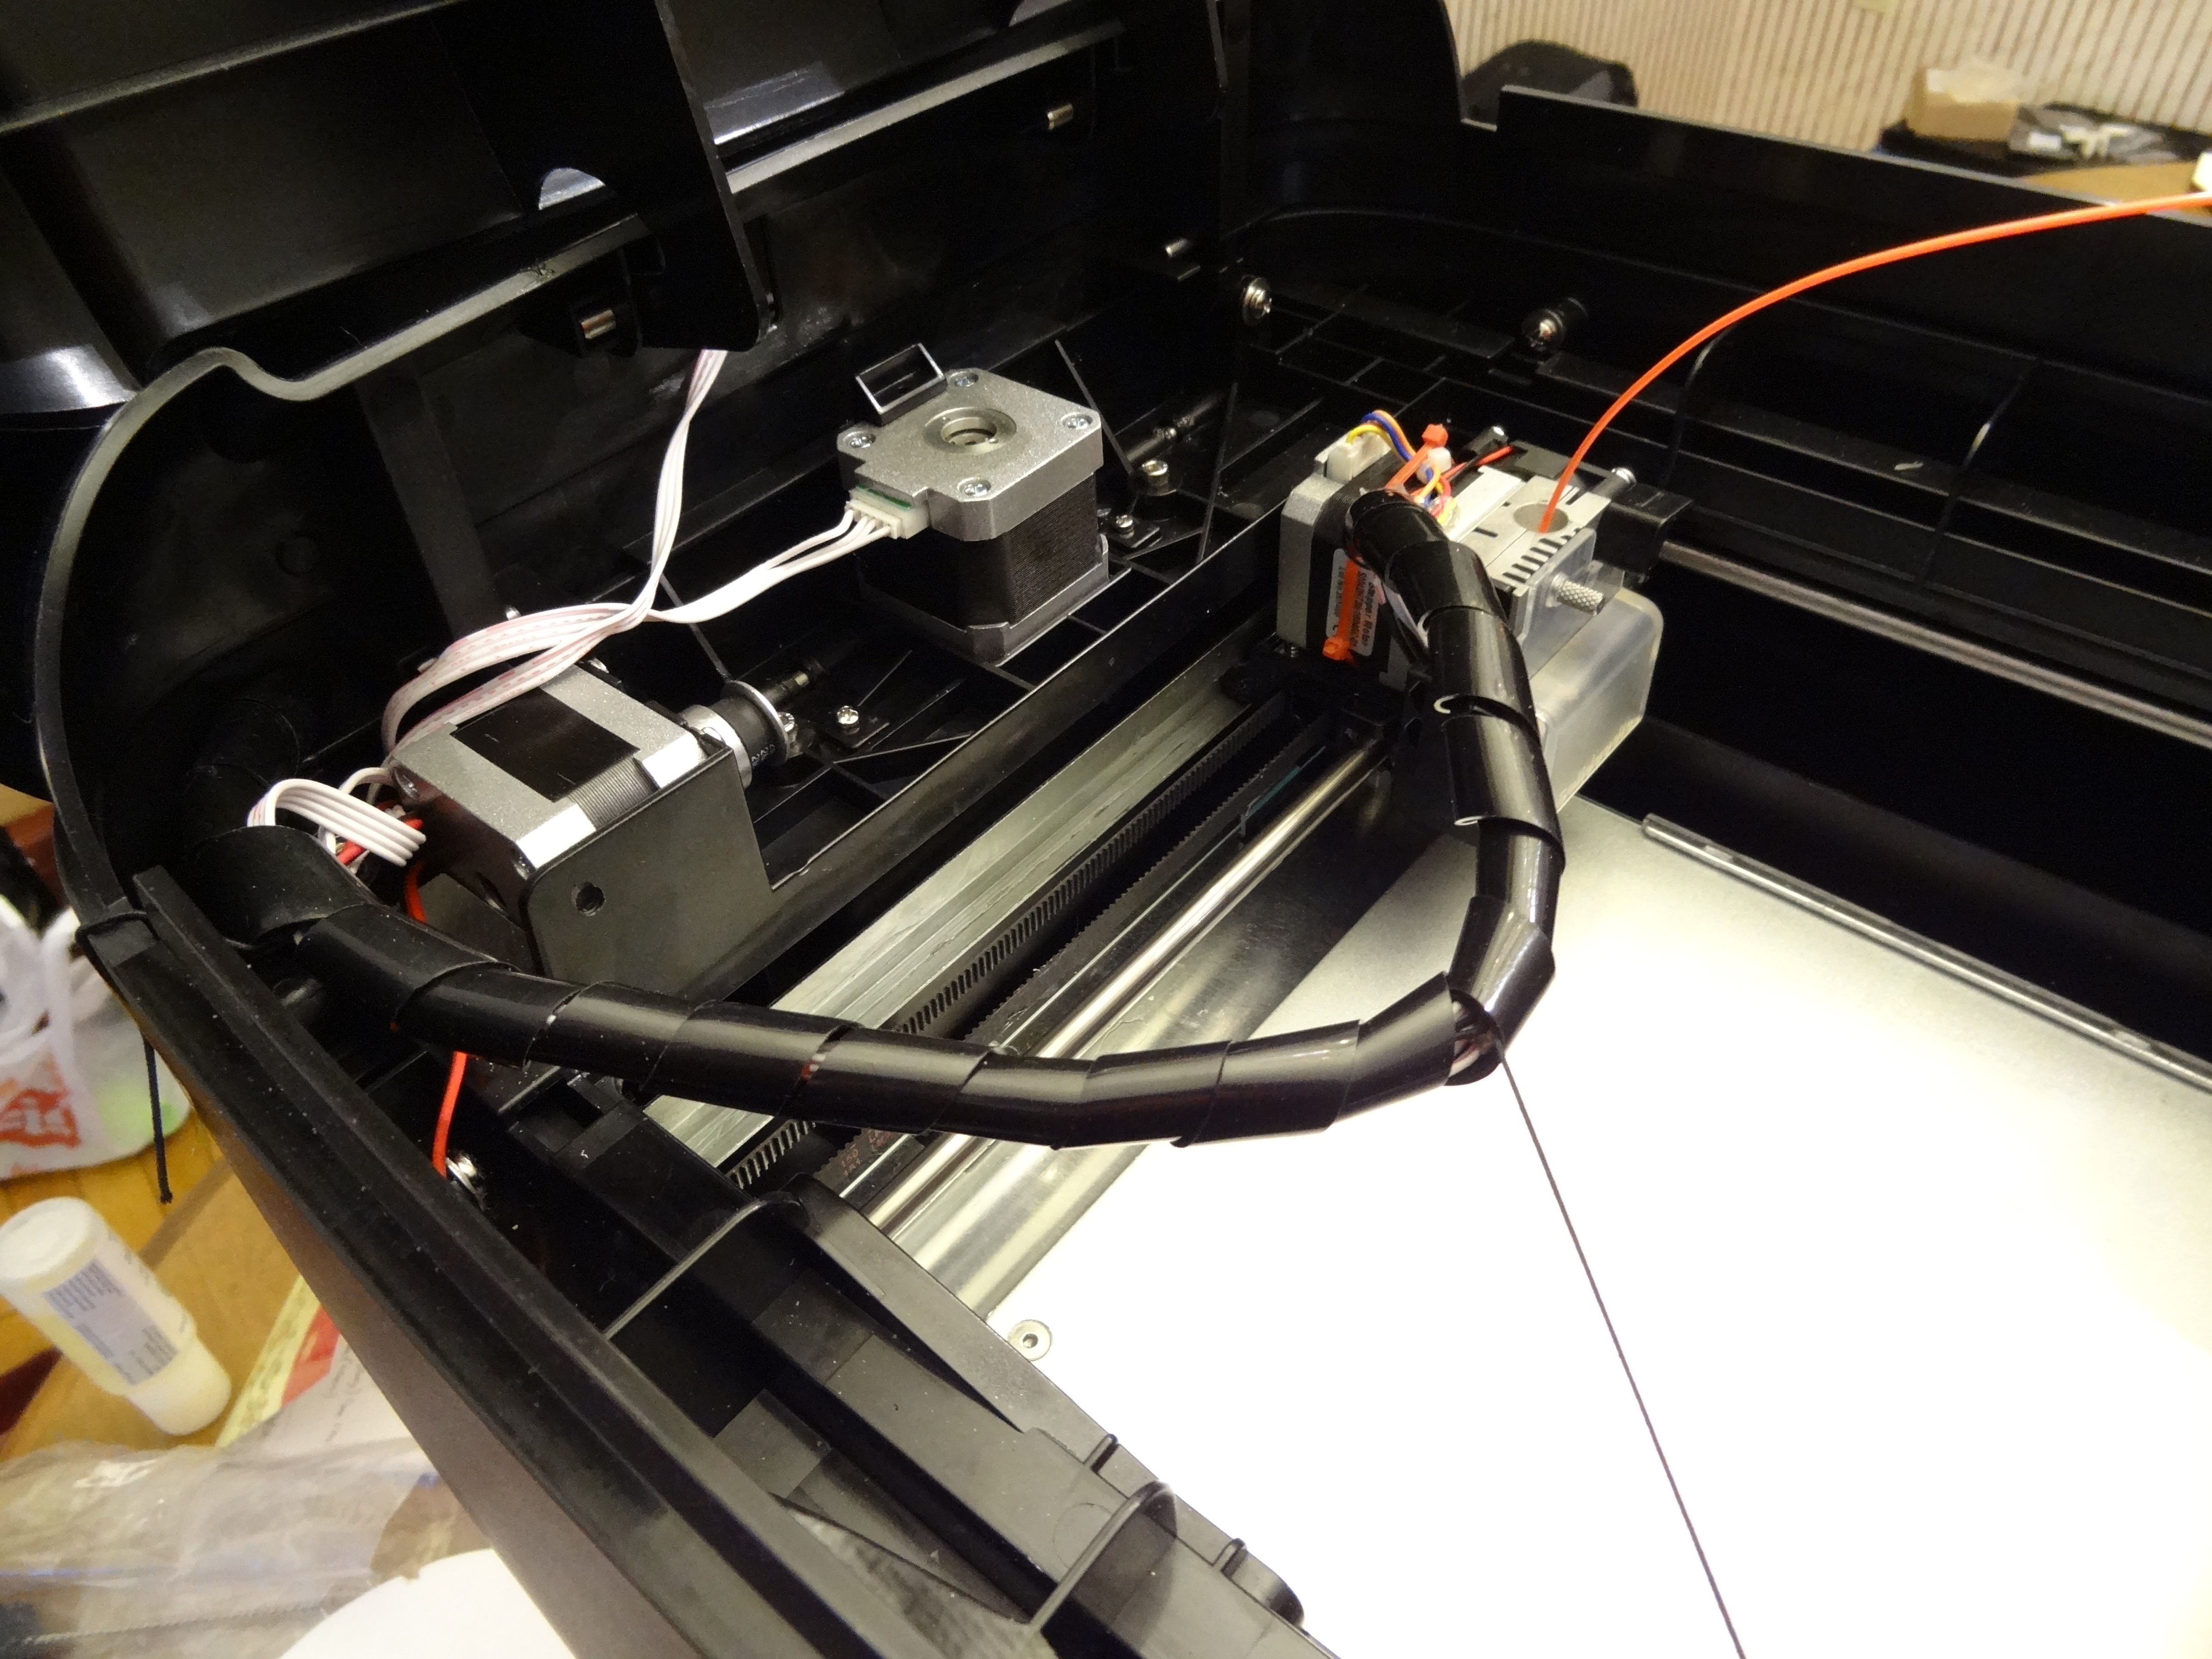
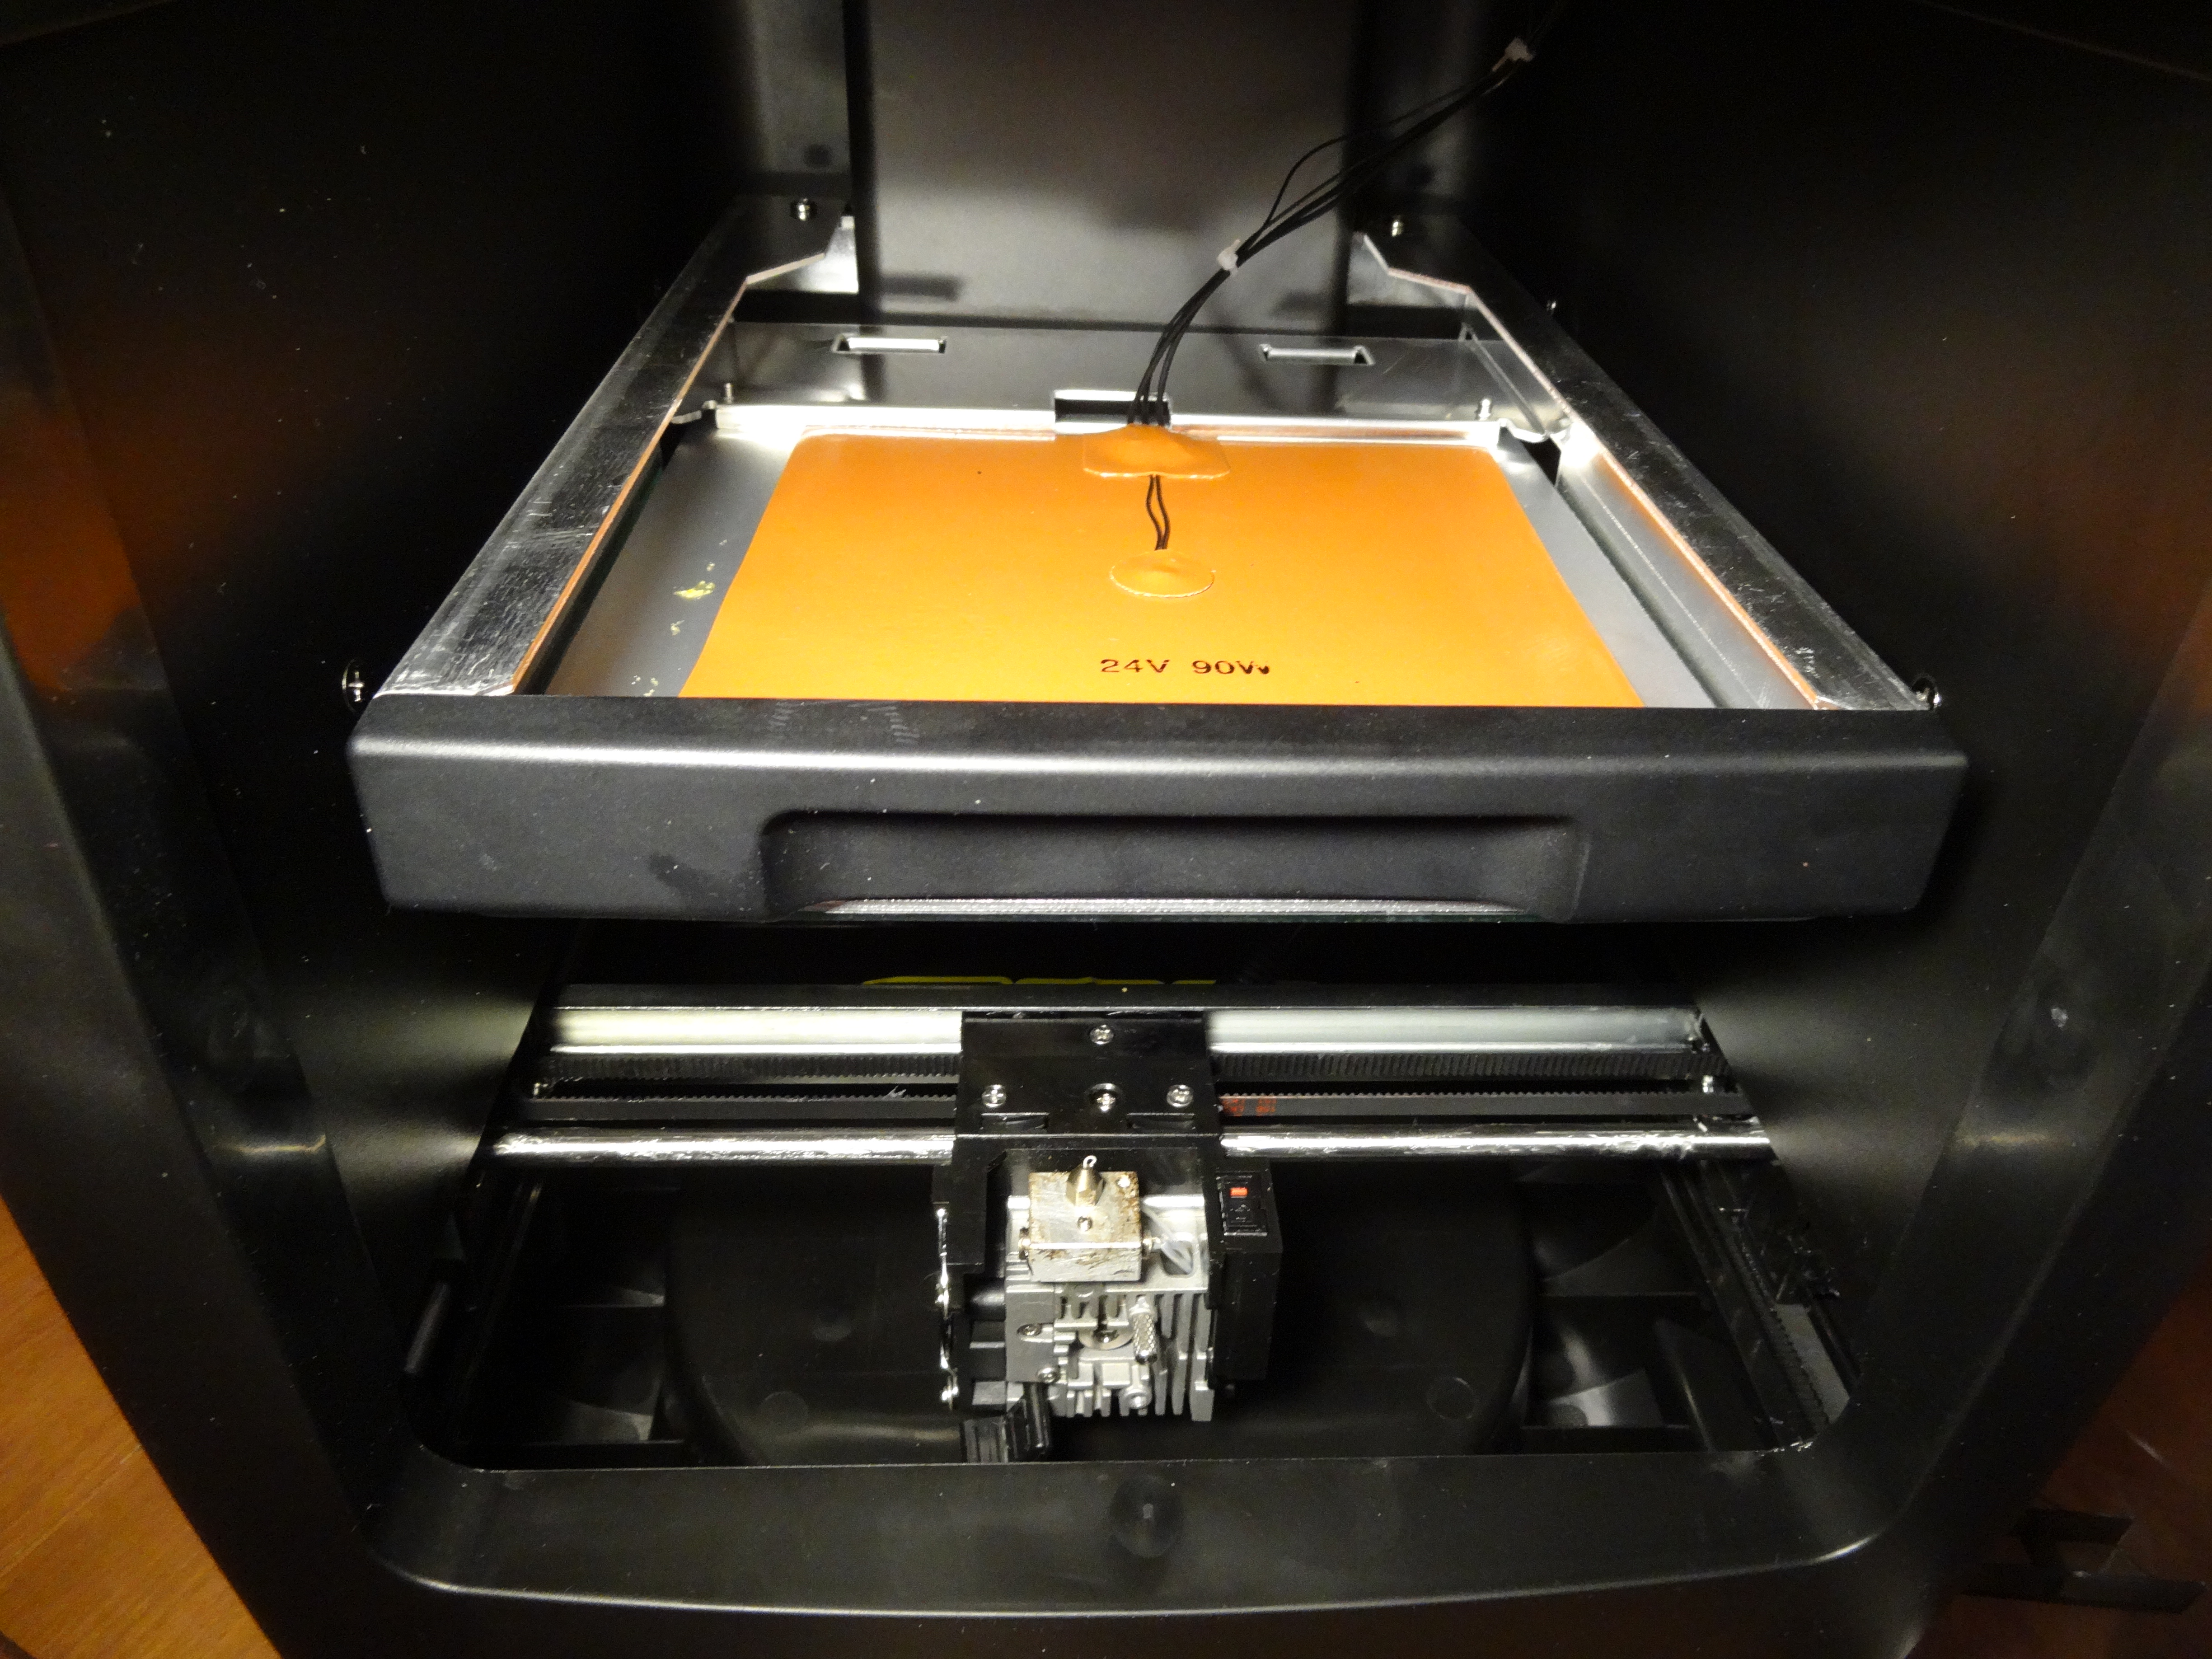
 The picture to the left is when it was upside down – figured it would be interesting to show how the heated bed is constructed – and look mom, no insulation on the lower side. That is something I plan on fixing soon.
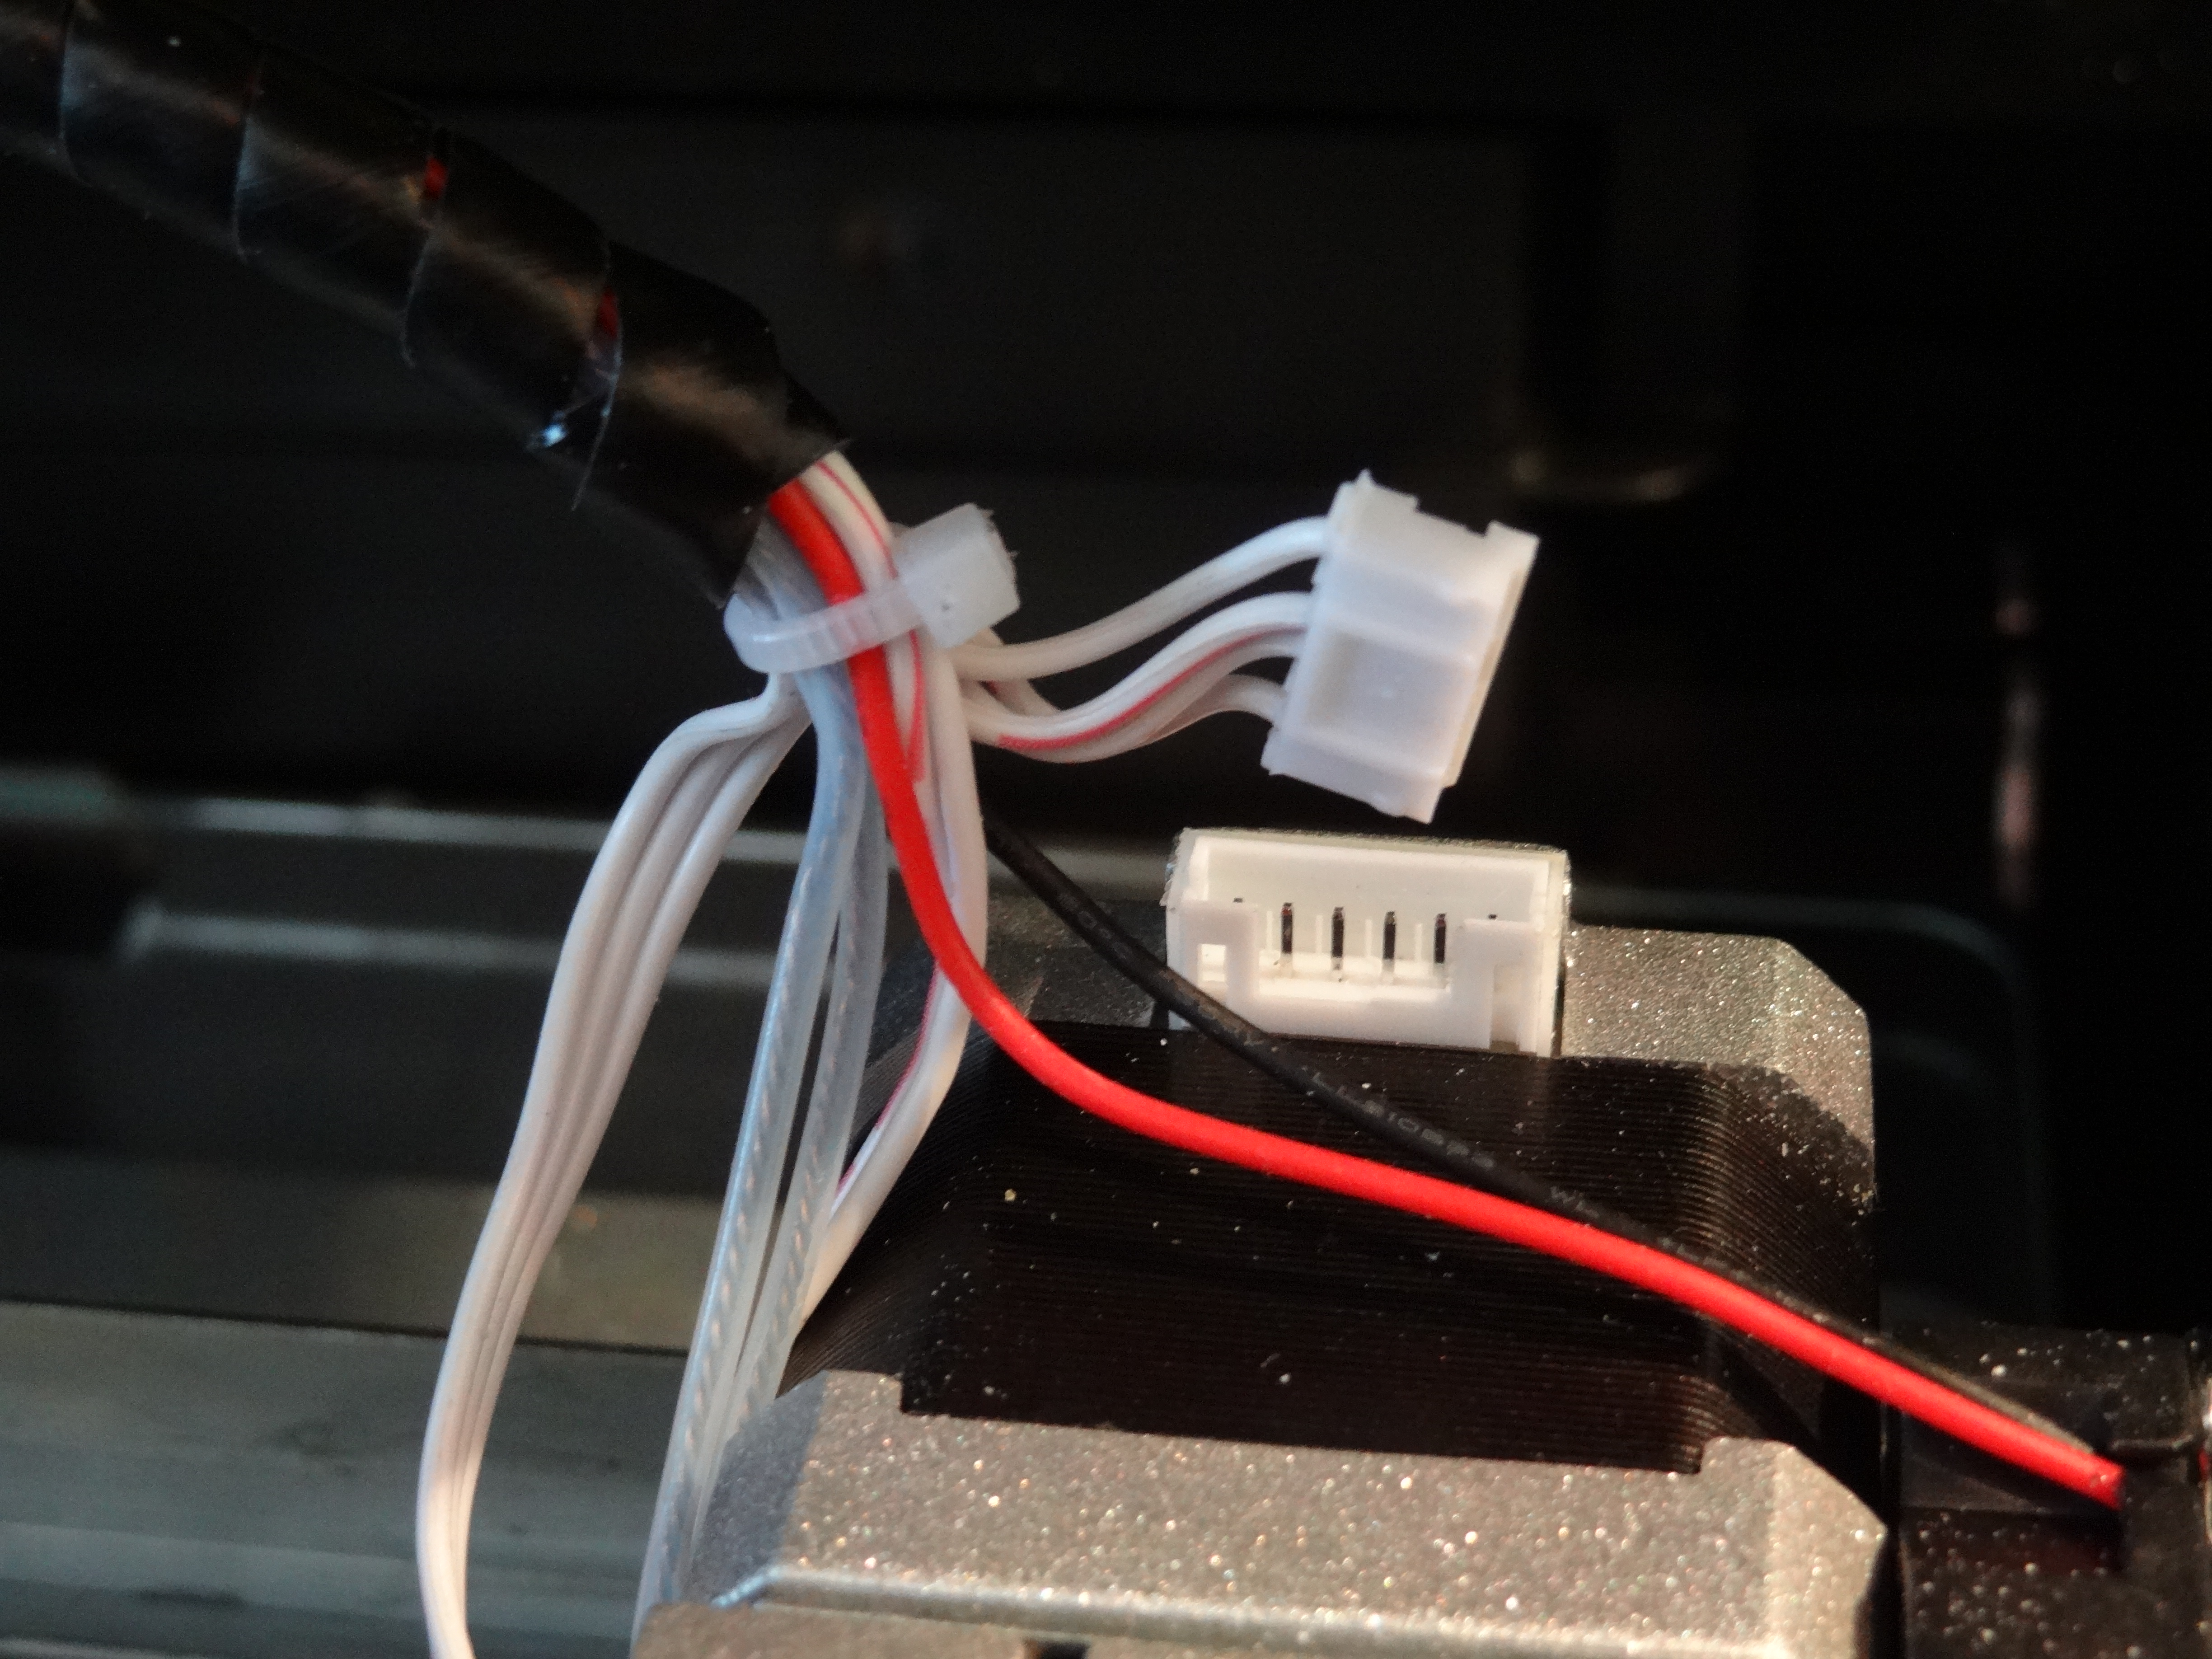
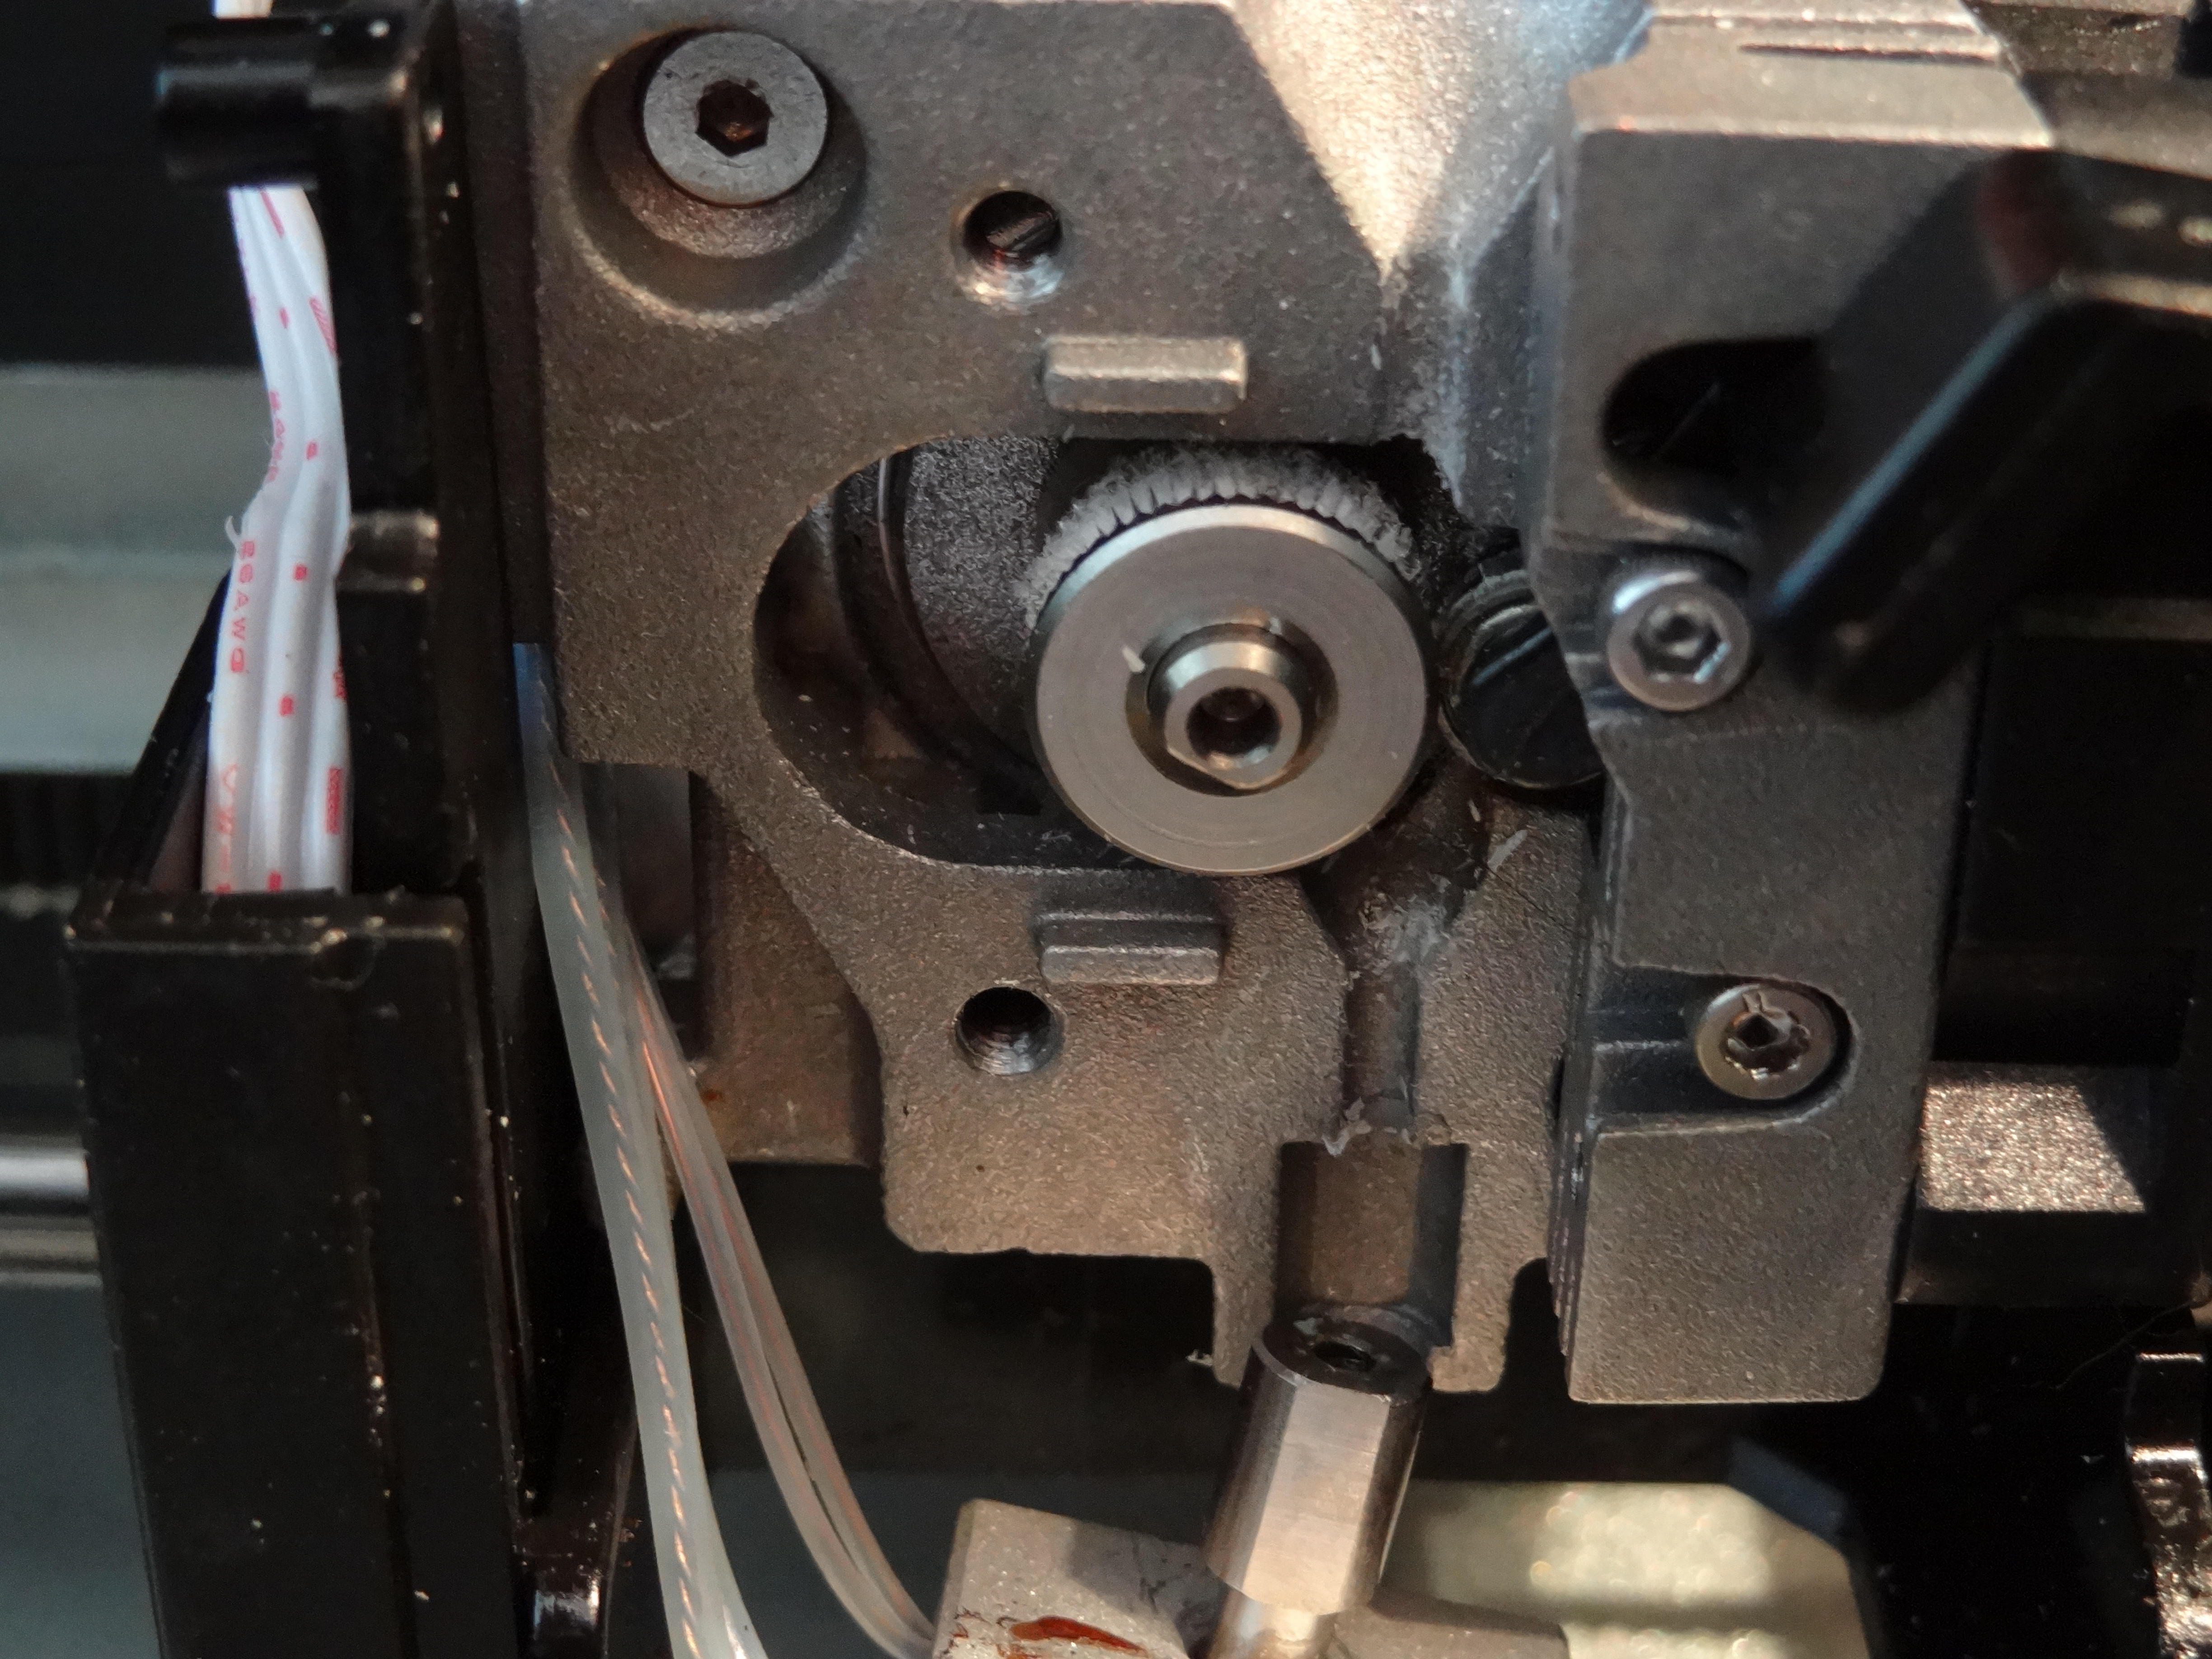
Some early folks reported a loose extruder drive wheel set screw. I checked for this and it was OK. I also had some issues with the Z offset calibration process. The machine can in fact automatically deploy and stow the probe, but it didn’t when I started the Z offset routine and the bed crashed into the head. I always have a close hand on the power cord…. so by connecting the Press to Repetier (yes, this is easily done) I was able to lower the bed and get things unjammed. The machine didn’t seem fazed at all by this mishap, but it could happen to anyone. After getting the probe down manually, the offset test worked fine and I kept the factory settings.  Also, mine has the Y homing jam issue – it behaves like it doesn’t activate the switch at the end of Y travel (to the rear of the machine). Homing the Y axis results in the gantry crashing into the rear while the motor continues to attempt to move it. So one of my investigations will be to find out what is going on here with that part of the machine, unless somebody else out there finds it first and posts it. (got it, see below – the head umbilical cord gets jammed between the head and the back of the case – another “upgrade” to do….)
Yes mine also had a messy extruder block, apparently from burn in and testing. You’d think a small QC step would be to brush off the deposits before cooling down and packing it for shipping.
As for the Solipress software, it is as advertised – minimal control. One thing it needs (besides getting the 10 or so posted bugs fixed) get a more obvious manual axis control. You can send it G code – it is in the “printer options” panel. My first build warped off the plate (just using it as received – time to get some AquaNet hairspray). But when I stopped the build, the Z stage just sat there. How do you get it to move downward to some usable depth so that you can access and clean the build plate? And, there is no option to create a raft in the slic3r configuration (but you can turn on supports!). Given the delays in getting this machine to buyers, I’d think the software would have been fairly polished and debugged long ago.
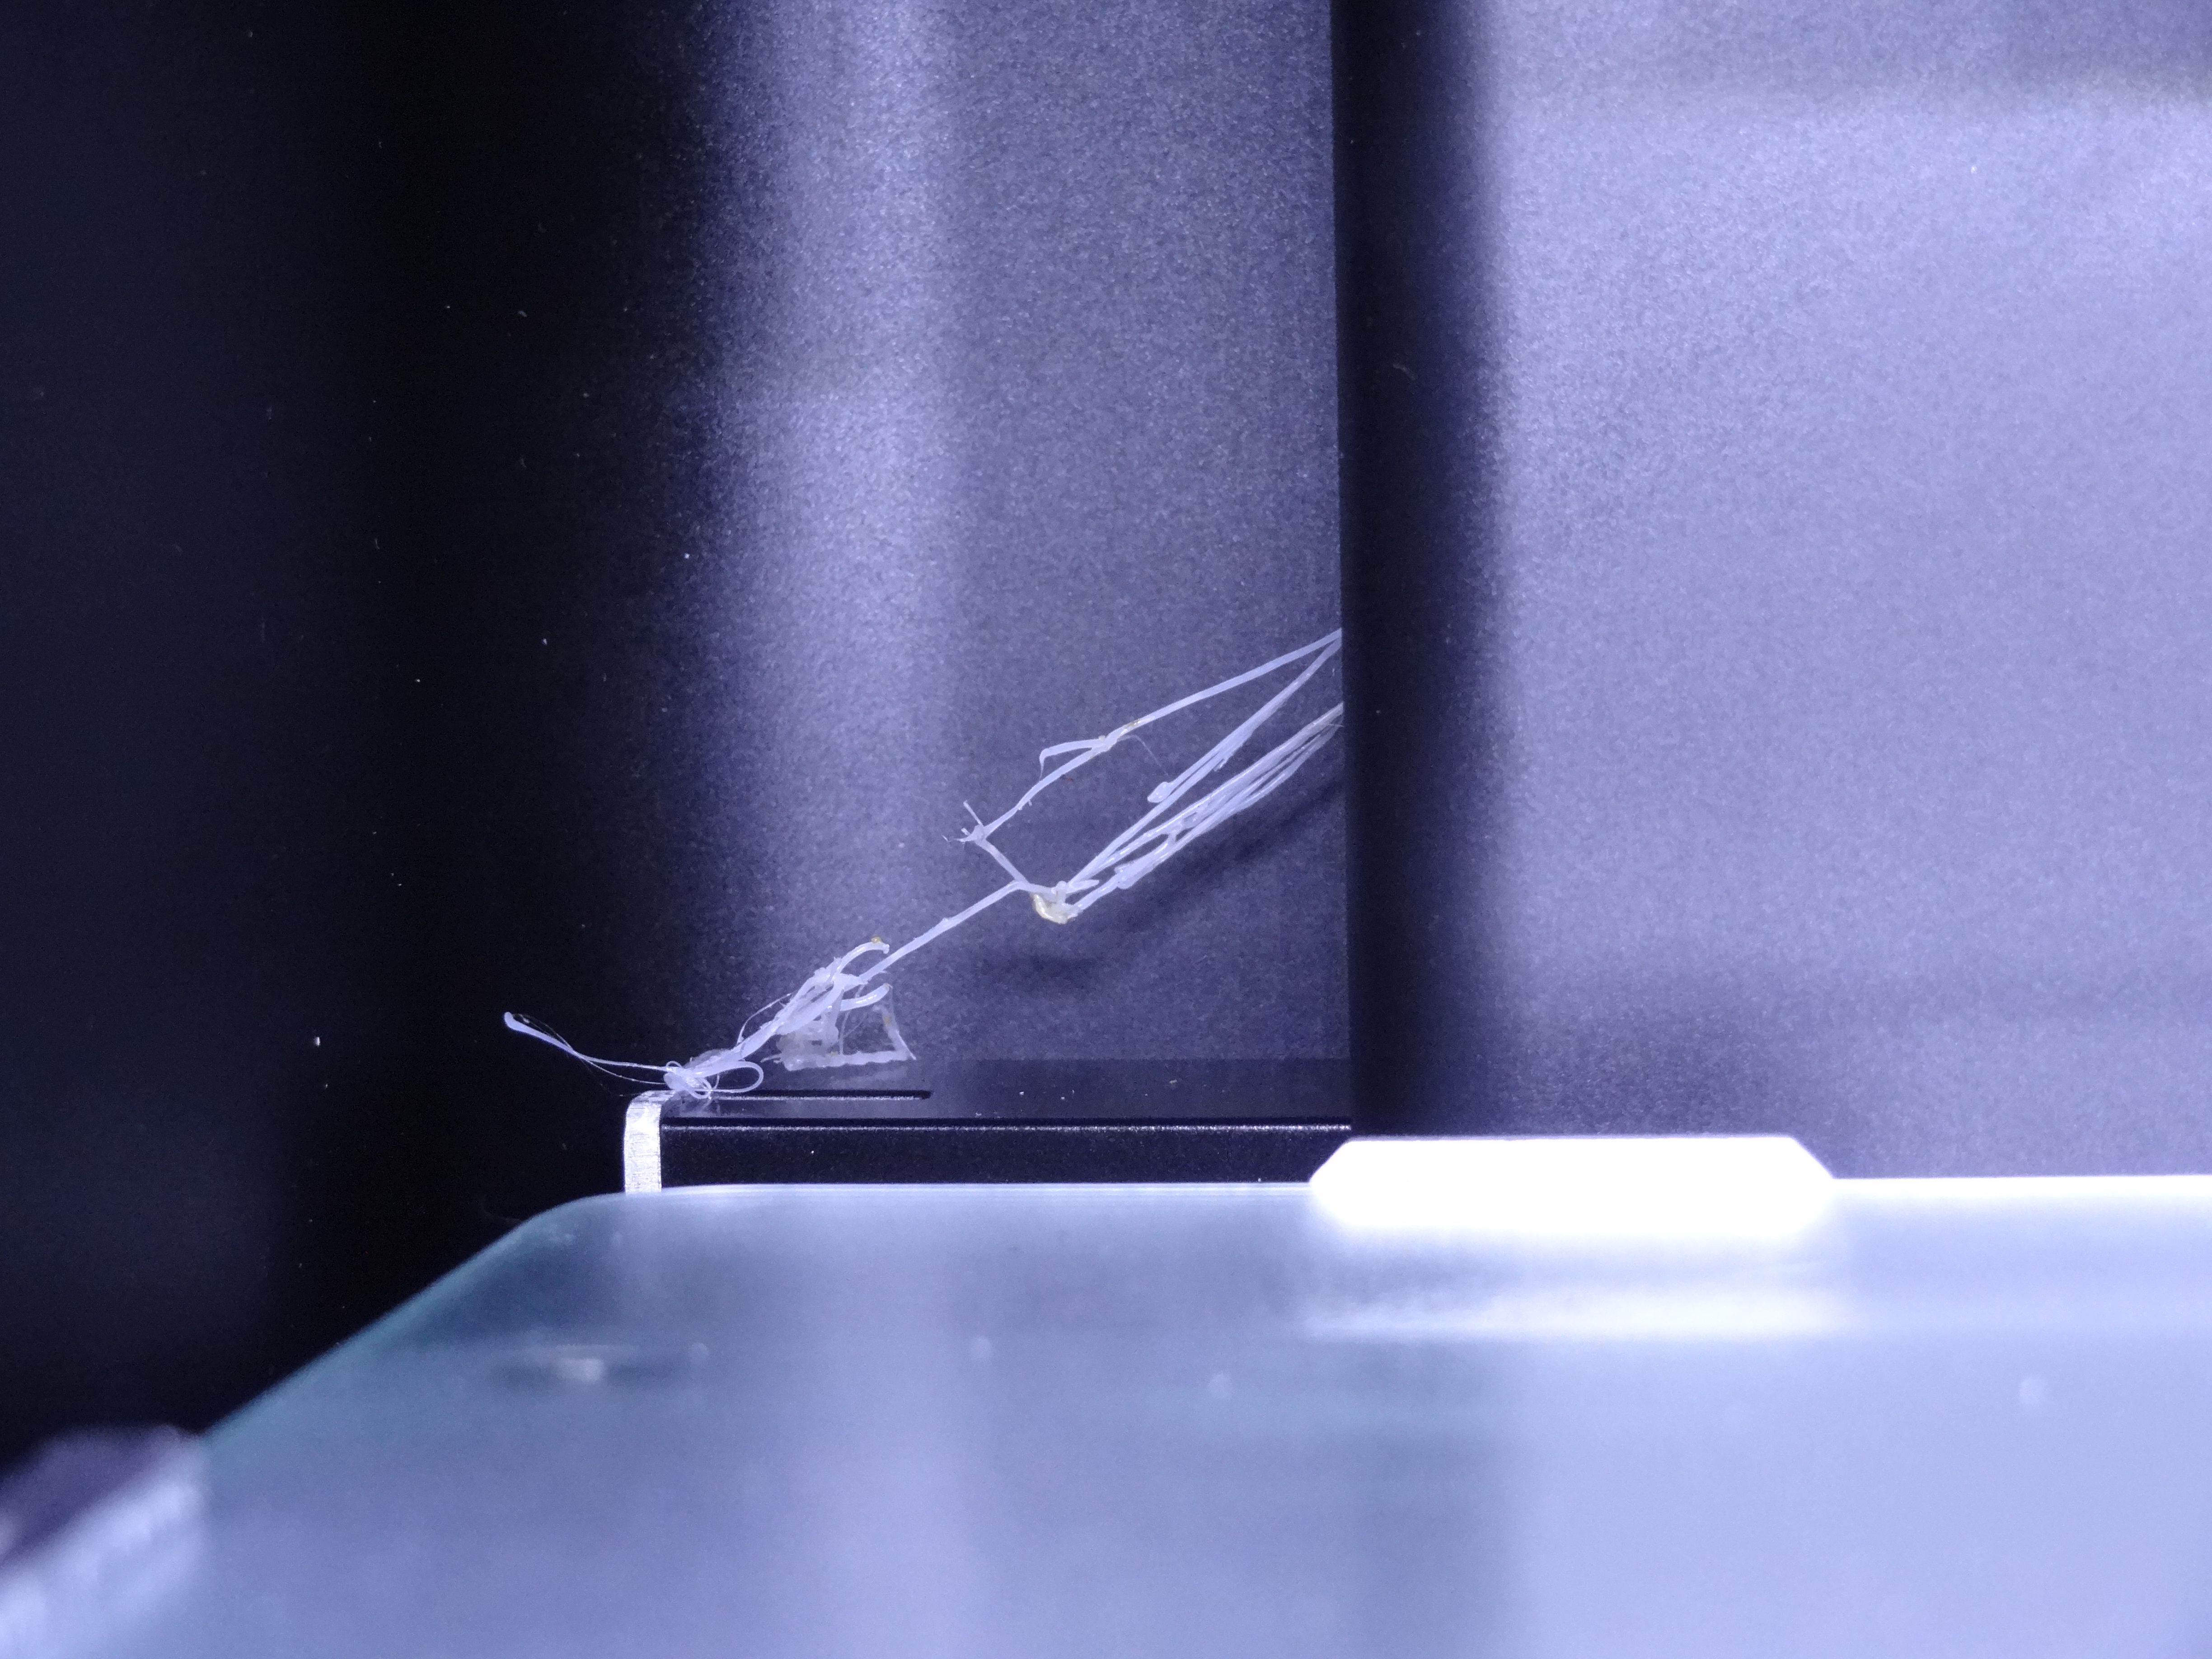
So I’ll continue to test this and let you know how it works. Stay tuned! Here is a picture of the “Prize in every Box” – the stray filament (I think from the Z axis offset calibration) and the test print. That test print, BTW, is not too well done…
UPDATE #1: The nasty Y homing problem is actually a design flaw. Using Repetier and manually sending some simple G code (M119 – report endstop status) I was able to confirm that the issue is not the endstops. They are working just fine. The problem is the large diameter cable cover to the head – it falls down behind the head and gets in the way of the gantry as it moves back to the rear where the Y limit switch is located. The cable cover is really too stiff and large and just doesn’t stay up in the top of the chassis. My plan is to replace it with some smaller diameter cable spiral, and fix one end of it at the rear so it stays out of the way when the gantry moves to the endstop. This will definitely fix it. I can move the gantry manually to the endstop so long as there isn’t the obstruction from the head cable. I’ll update this when I have the fix in place to show you how I did it. Also, the Z “home” is actually the Z probe, so homing in the normal sense can’t be done unless the probe is deployed before doing the homing of the Z axis. If you don’t, crash! The Z motor will just keep driving the platen into the extruder tip and that is not good! So some thought to how you home the Z is in order before using some other software like Repetier (though Solidoodle has released a Repetier customization that includes the new Press).


 After hairspray and Kapton tape, this is my favorite bed stick materal.
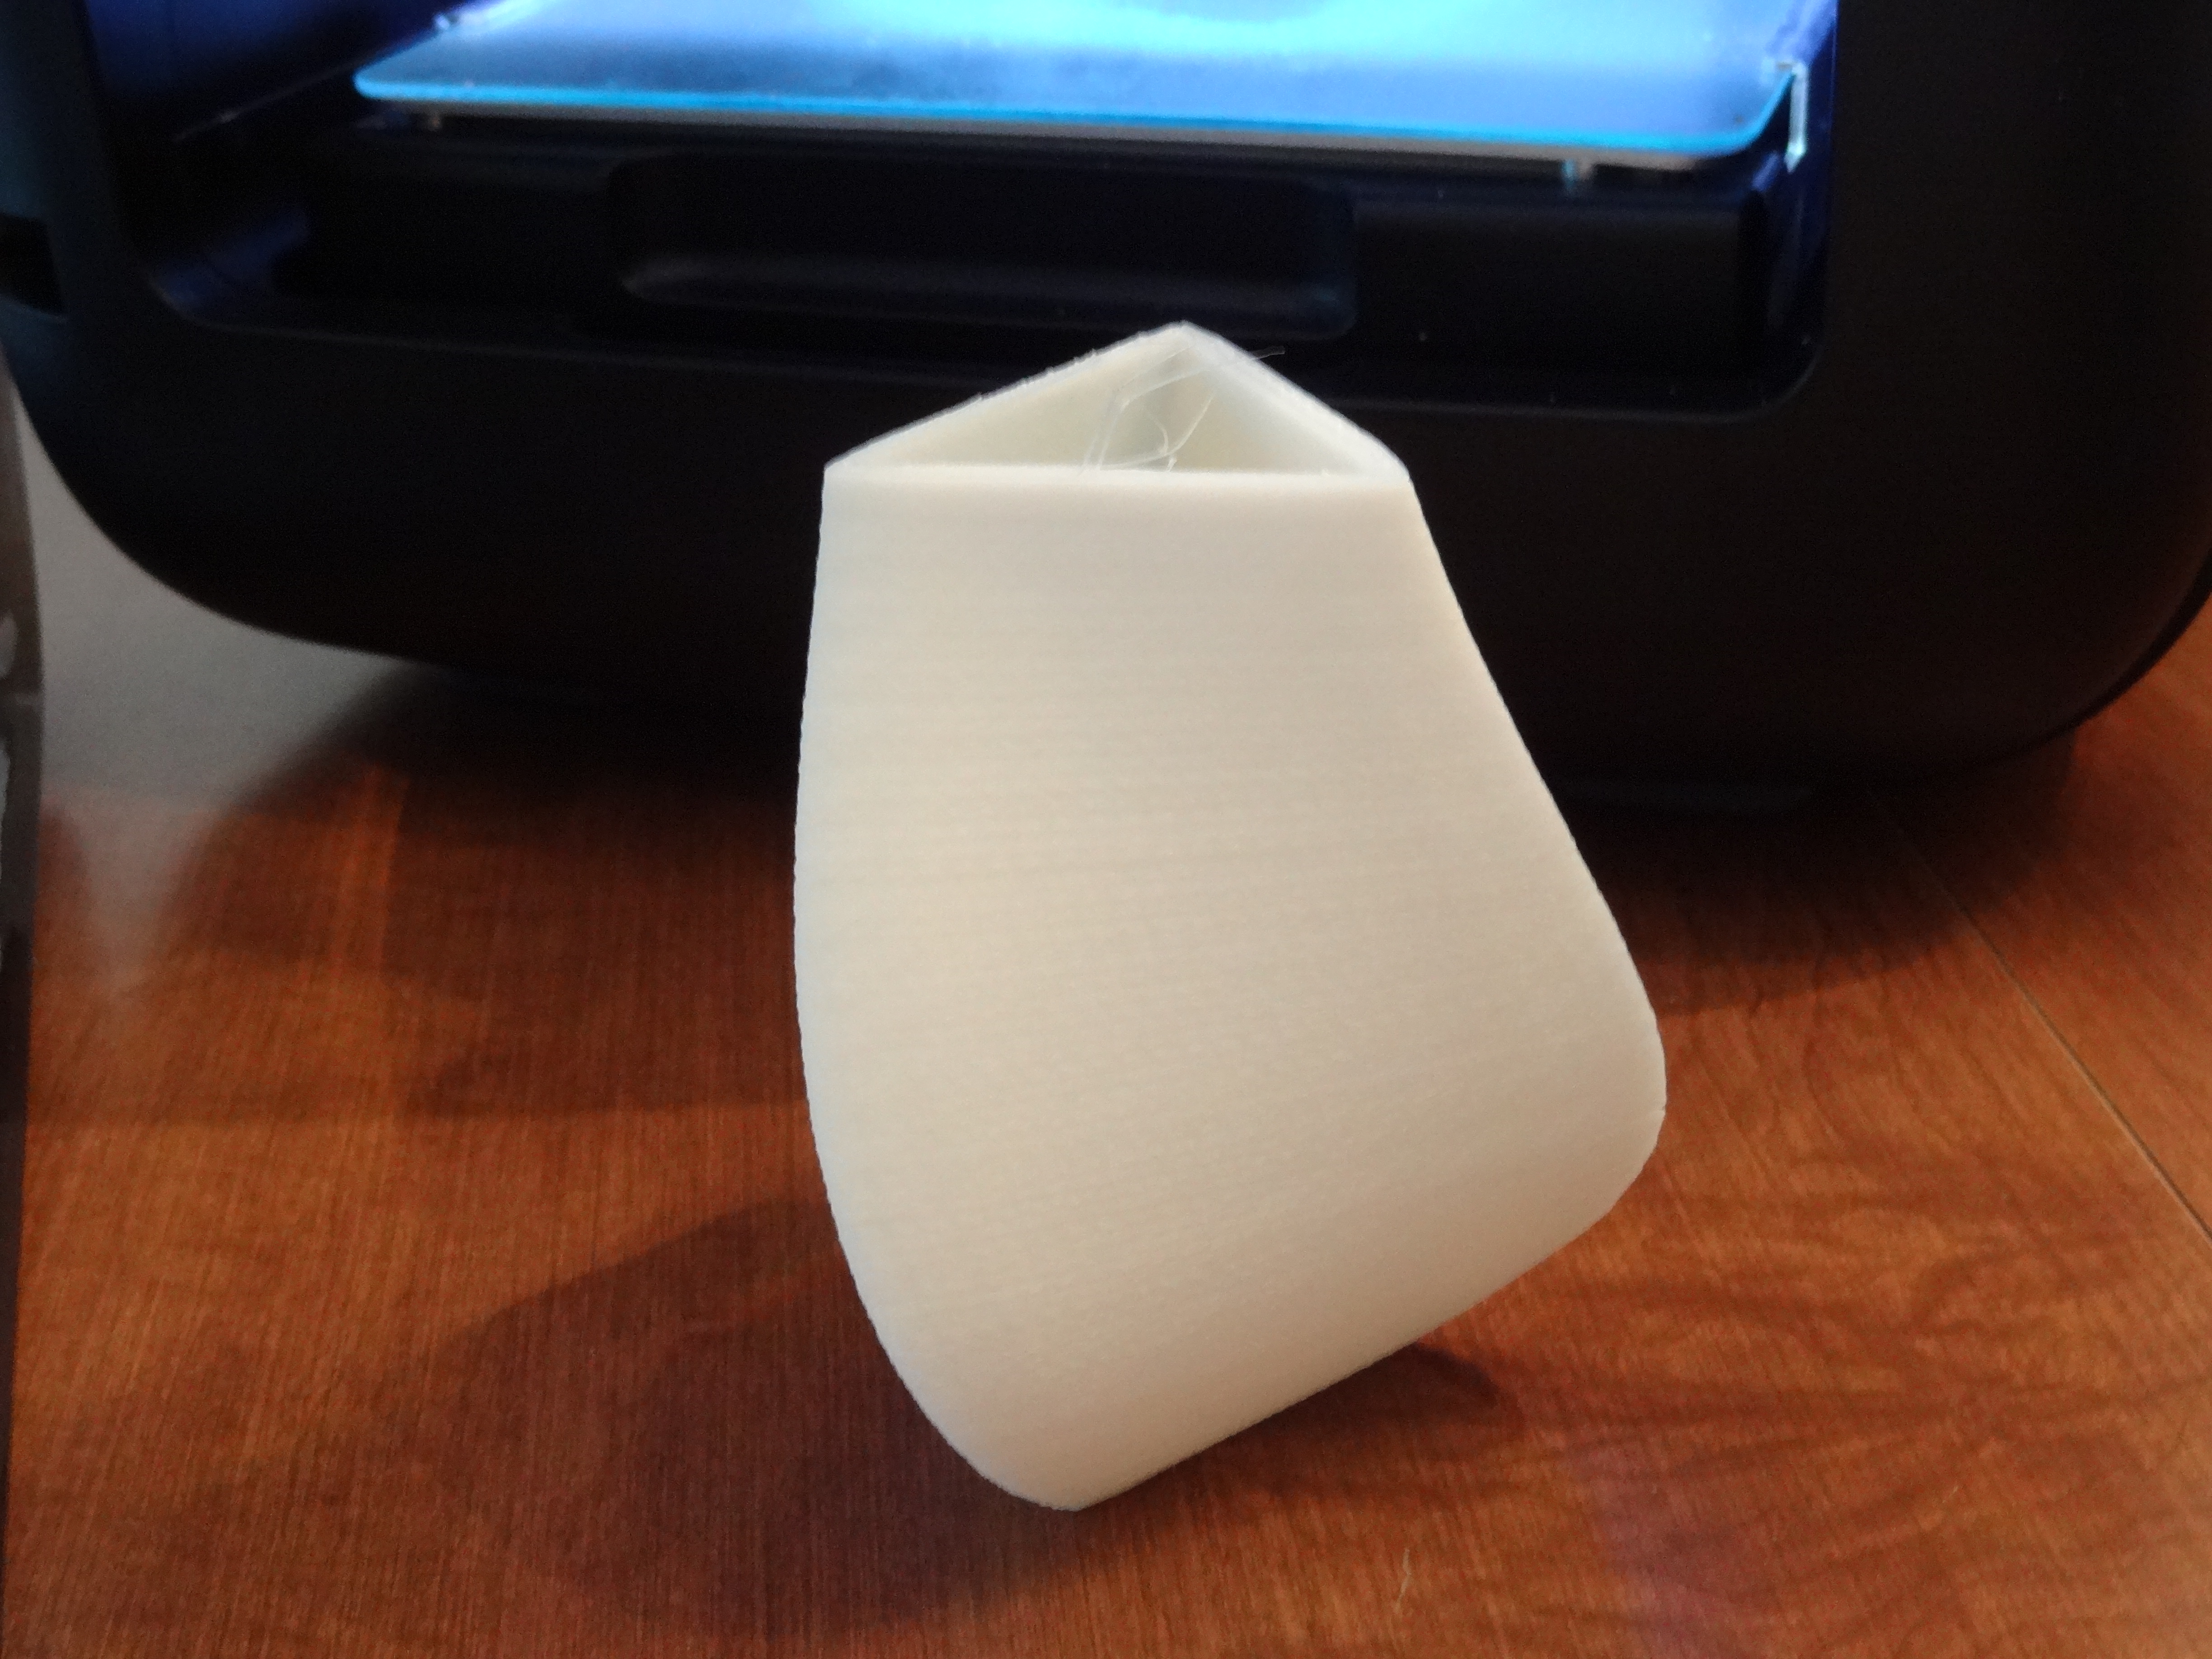


You must be logged in to post a comment.