
Instant Elevator Repair
I’ve waited to post this story for several reasons but it is still a good example of how repair of commercial items like elevators can be a problem for older equipment.
Consider a three-level church building where a stair lift / wheelchair lift is installed on the railing of the stairwell. This system while in good mechanical shape (less than 50 hours total use since new) stopped working one day. It has three stop positions – bottom floor, midway and top for the sanctuary level. Each can call the lift.
So the church called in an elevator company to repair it. They told them it would cost $1000 for the visit. And then another $1000 to diagnose it (no guarantee of repair). That is a pretty hefty fee for what turned out to be no work at all. The diagnosis? “We can’t fix it only replace it for $50,000.” They probably were not there more than 30 minutes. And like a lot of small churches, they didn’t have a spare $50,000 for a replacement.
A friend of this church asked me if I’d be willing to evaluate it to provide a second opinion. Sure – why not? I couldn’t do any worse than the elevator company, and it came with a free breakfast at a nearby local restaurant!
After breakfast, my friend and I went to the church and were introduced to the broken lift system. It had some life in that a few control indicators were lit, but it didn’t respond to any commands. Like a lot of these systems, most of the control is in a “wand” that is mounted on the moving lift cage. Working my way through the three platform levels, I finally came to the top.
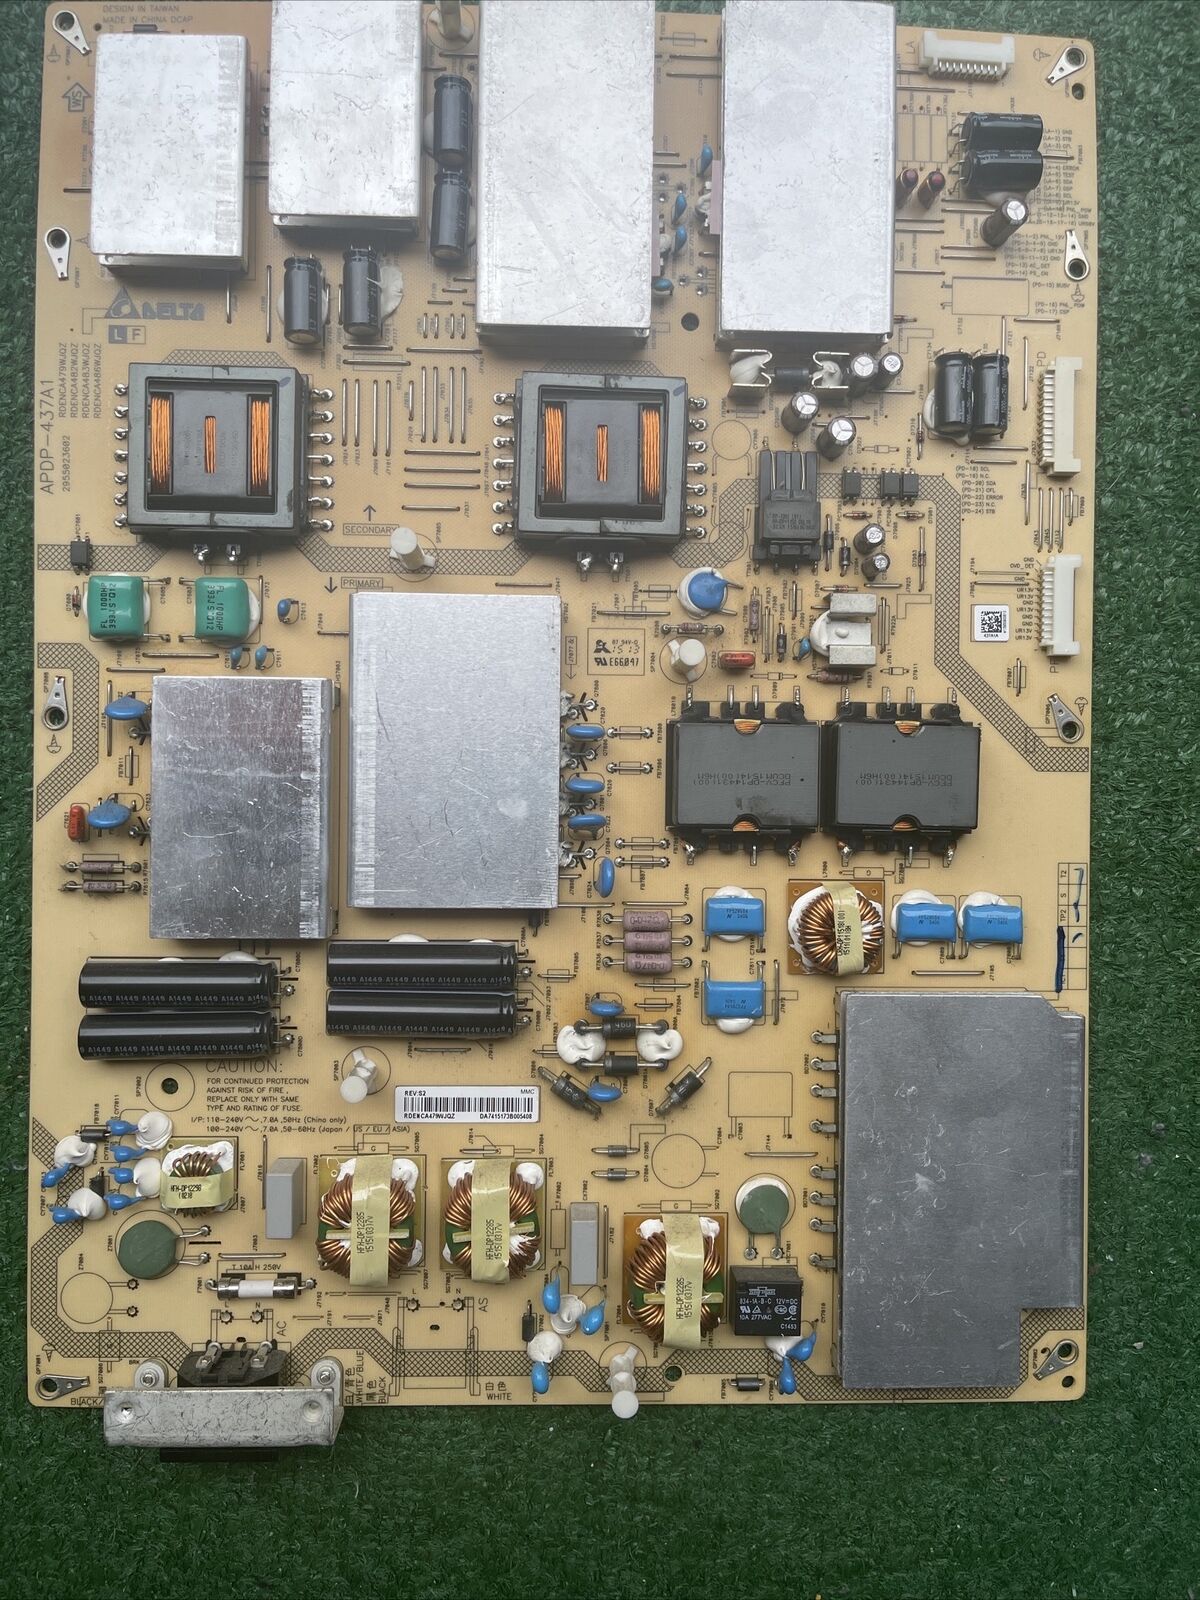
At the top of the system was a large brown metal box. While not labeled as such, it was the main control panel and the motor that drove the chair. Opening it required the removal of two screws and then the cover popped off easily.
What was rather evident to me from some of the trash inside the control box was that probably the elevator company didn’t even inspect this! You’d think for $2000 you’d get some value from them. Anyway, after a few minutes looking at LED indicators on the power supply it appeared that at least the power was present for it to work – no blown fuses or tripped circuit breakers. As it often is, there were no schematics, but I clearly recognized some PLC components from past experience. Also, this is where I found the hours of use meter – like an odometer on a car. Yes, just 50 hours, though a lot of years of service. What this meant to me was mechanically it should still be in good shape, barring any abuse.
After noting several plug-in boards and relay controls, I was inspired to try one old trick. I call it the “shock induced readjustment” method… which in this case meant kneeling down to apply a stiff slap on the control box. I guess you could call it “electronic chiropractics.” You see, over time plug-in component assemblies can suffer from contact oxidation – moisture and other airborne contaminants. Rather than taking the controls apart, often these sorts of issues can be “shaken out.”
Sometimes the results of this approach can be dramatic. I closed my eyes and gave the box a nice firm shock – enough to resonate through the upper floor but not enough to hurt my hands. And guess what? The entire system sprang back to life – and is working still to this day – much to the utter amazement of the pastor and my friend.
Thus one good slap on the system control box saved that church $50,000! A nice Christmas gift. There was much rejoicing. Only wish they didn’t have to spend that $2000 for nothing on the elevator repair company.

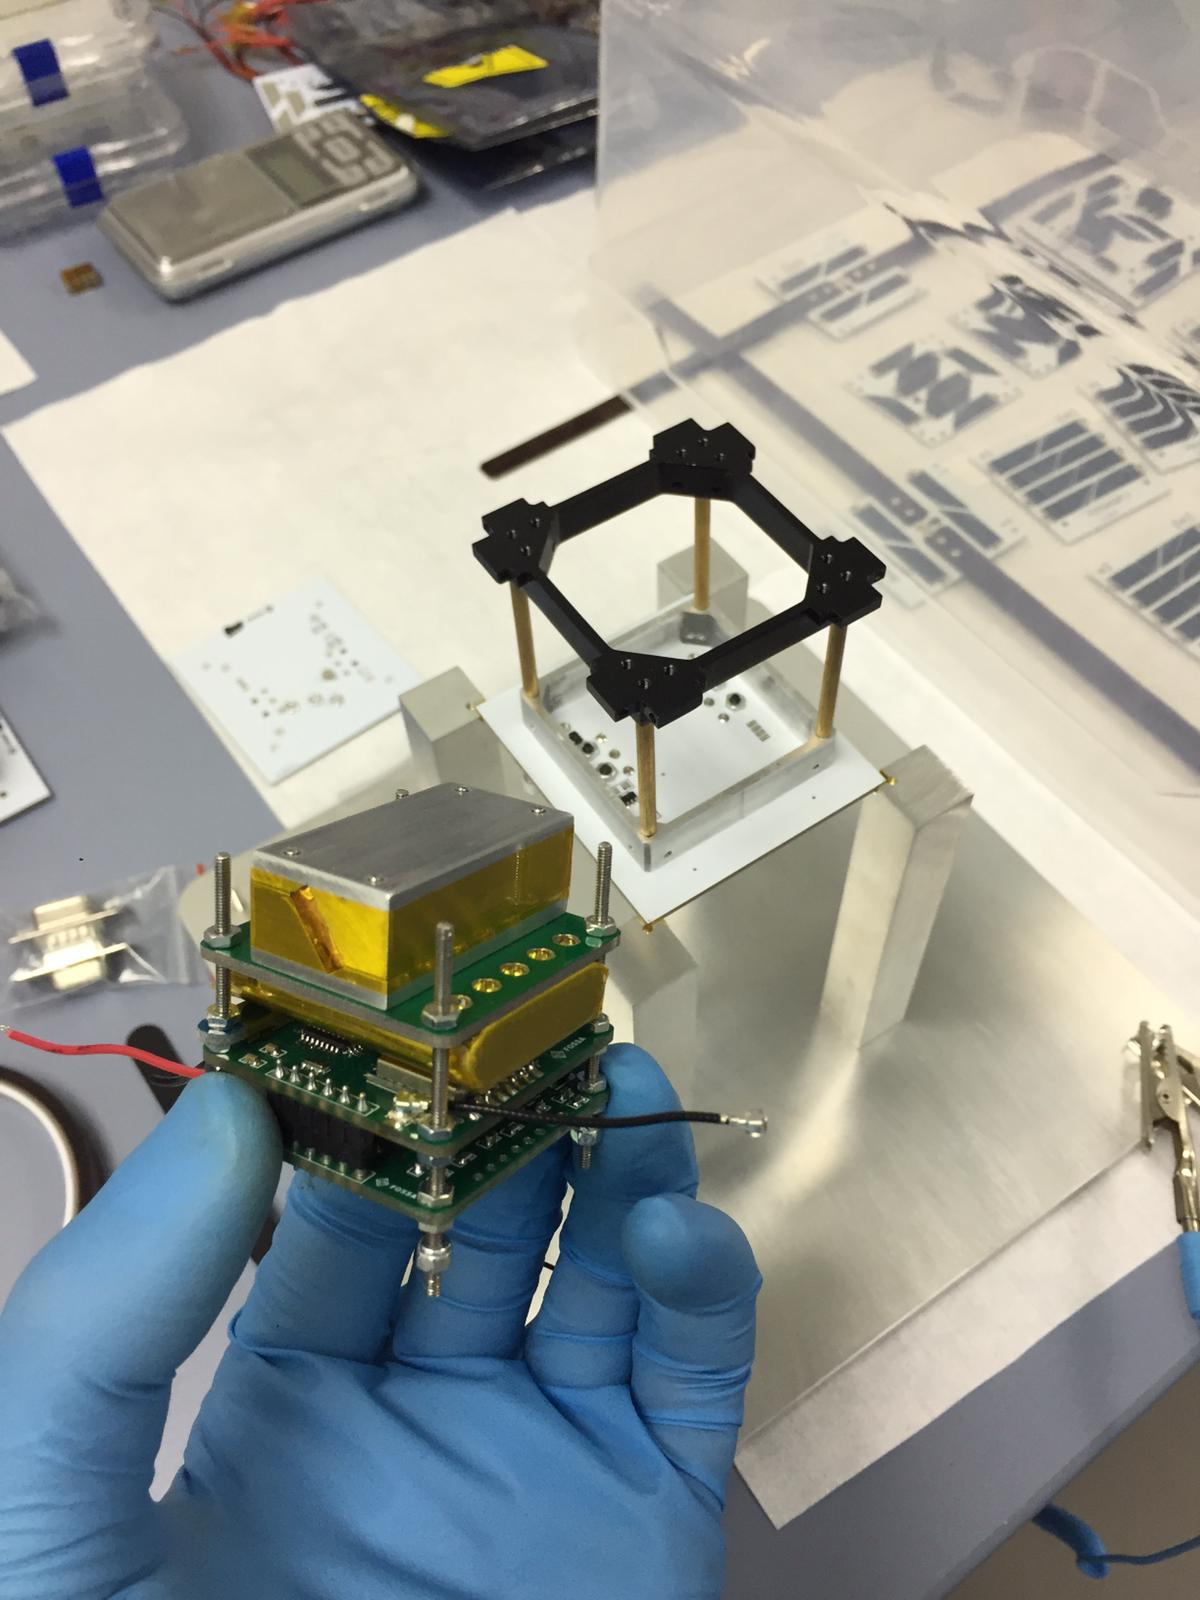

 It is a small electronics package designed to receive GPS location information and at the same time measure temperature, barometric pressure and humidity (in the most common scenario). In turn, it relays that information to ground stations via a small transmitter. Battery operated, they have a finite lifetime in use of a few hours. There are no cameras or video downlinks – just the data mentioned above. Wind speeds are reflected in positional changes. These are launched with balloons filled with helium such that they reach a maximum altitude and burst, leaving the small electronics package to plummet back to earth.
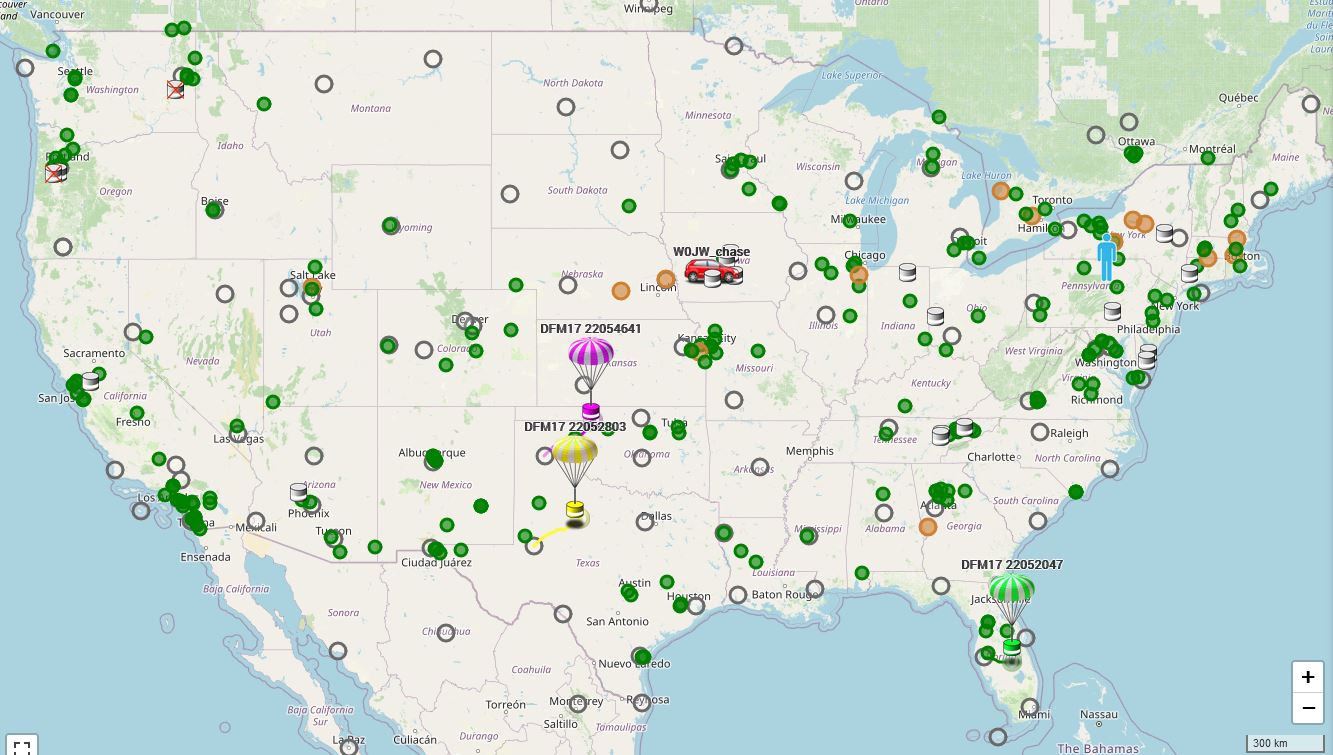


You must be logged in to post a comment.