
I managed to print a 20mm calibration cube using some ABS filament other than what was sent with the machine. The part came out with some interesting defects (the side walls showed definite herringbone patterns, suggesting insufficient drive to the extruder motor) however the X and Y accuracy was pretty good. But as I unloaded the filament at the end of the job, it was obvious that I too now had the “loose screw” in the drive wheel problem.
Fixing that is not difficult – take the plastic cover off and the left side of the extruder body using the two thumbscrews. Then take the fan on the right side off and it will uncover some slits where you can easily insert a 1.5mm allen wrench. Of course you’ll have to get the drive wheel in the correct place on the stepper motor shaft, as well as the proper front spacing.
Pictures coming soon. Note also Solidoodle released an update (1.1.1 now) to the client software on 2/12 or so) – it fixes some issues reported so far.
UPDATE: while I get my video properly edited, here are the things you can do to improve your head cable:
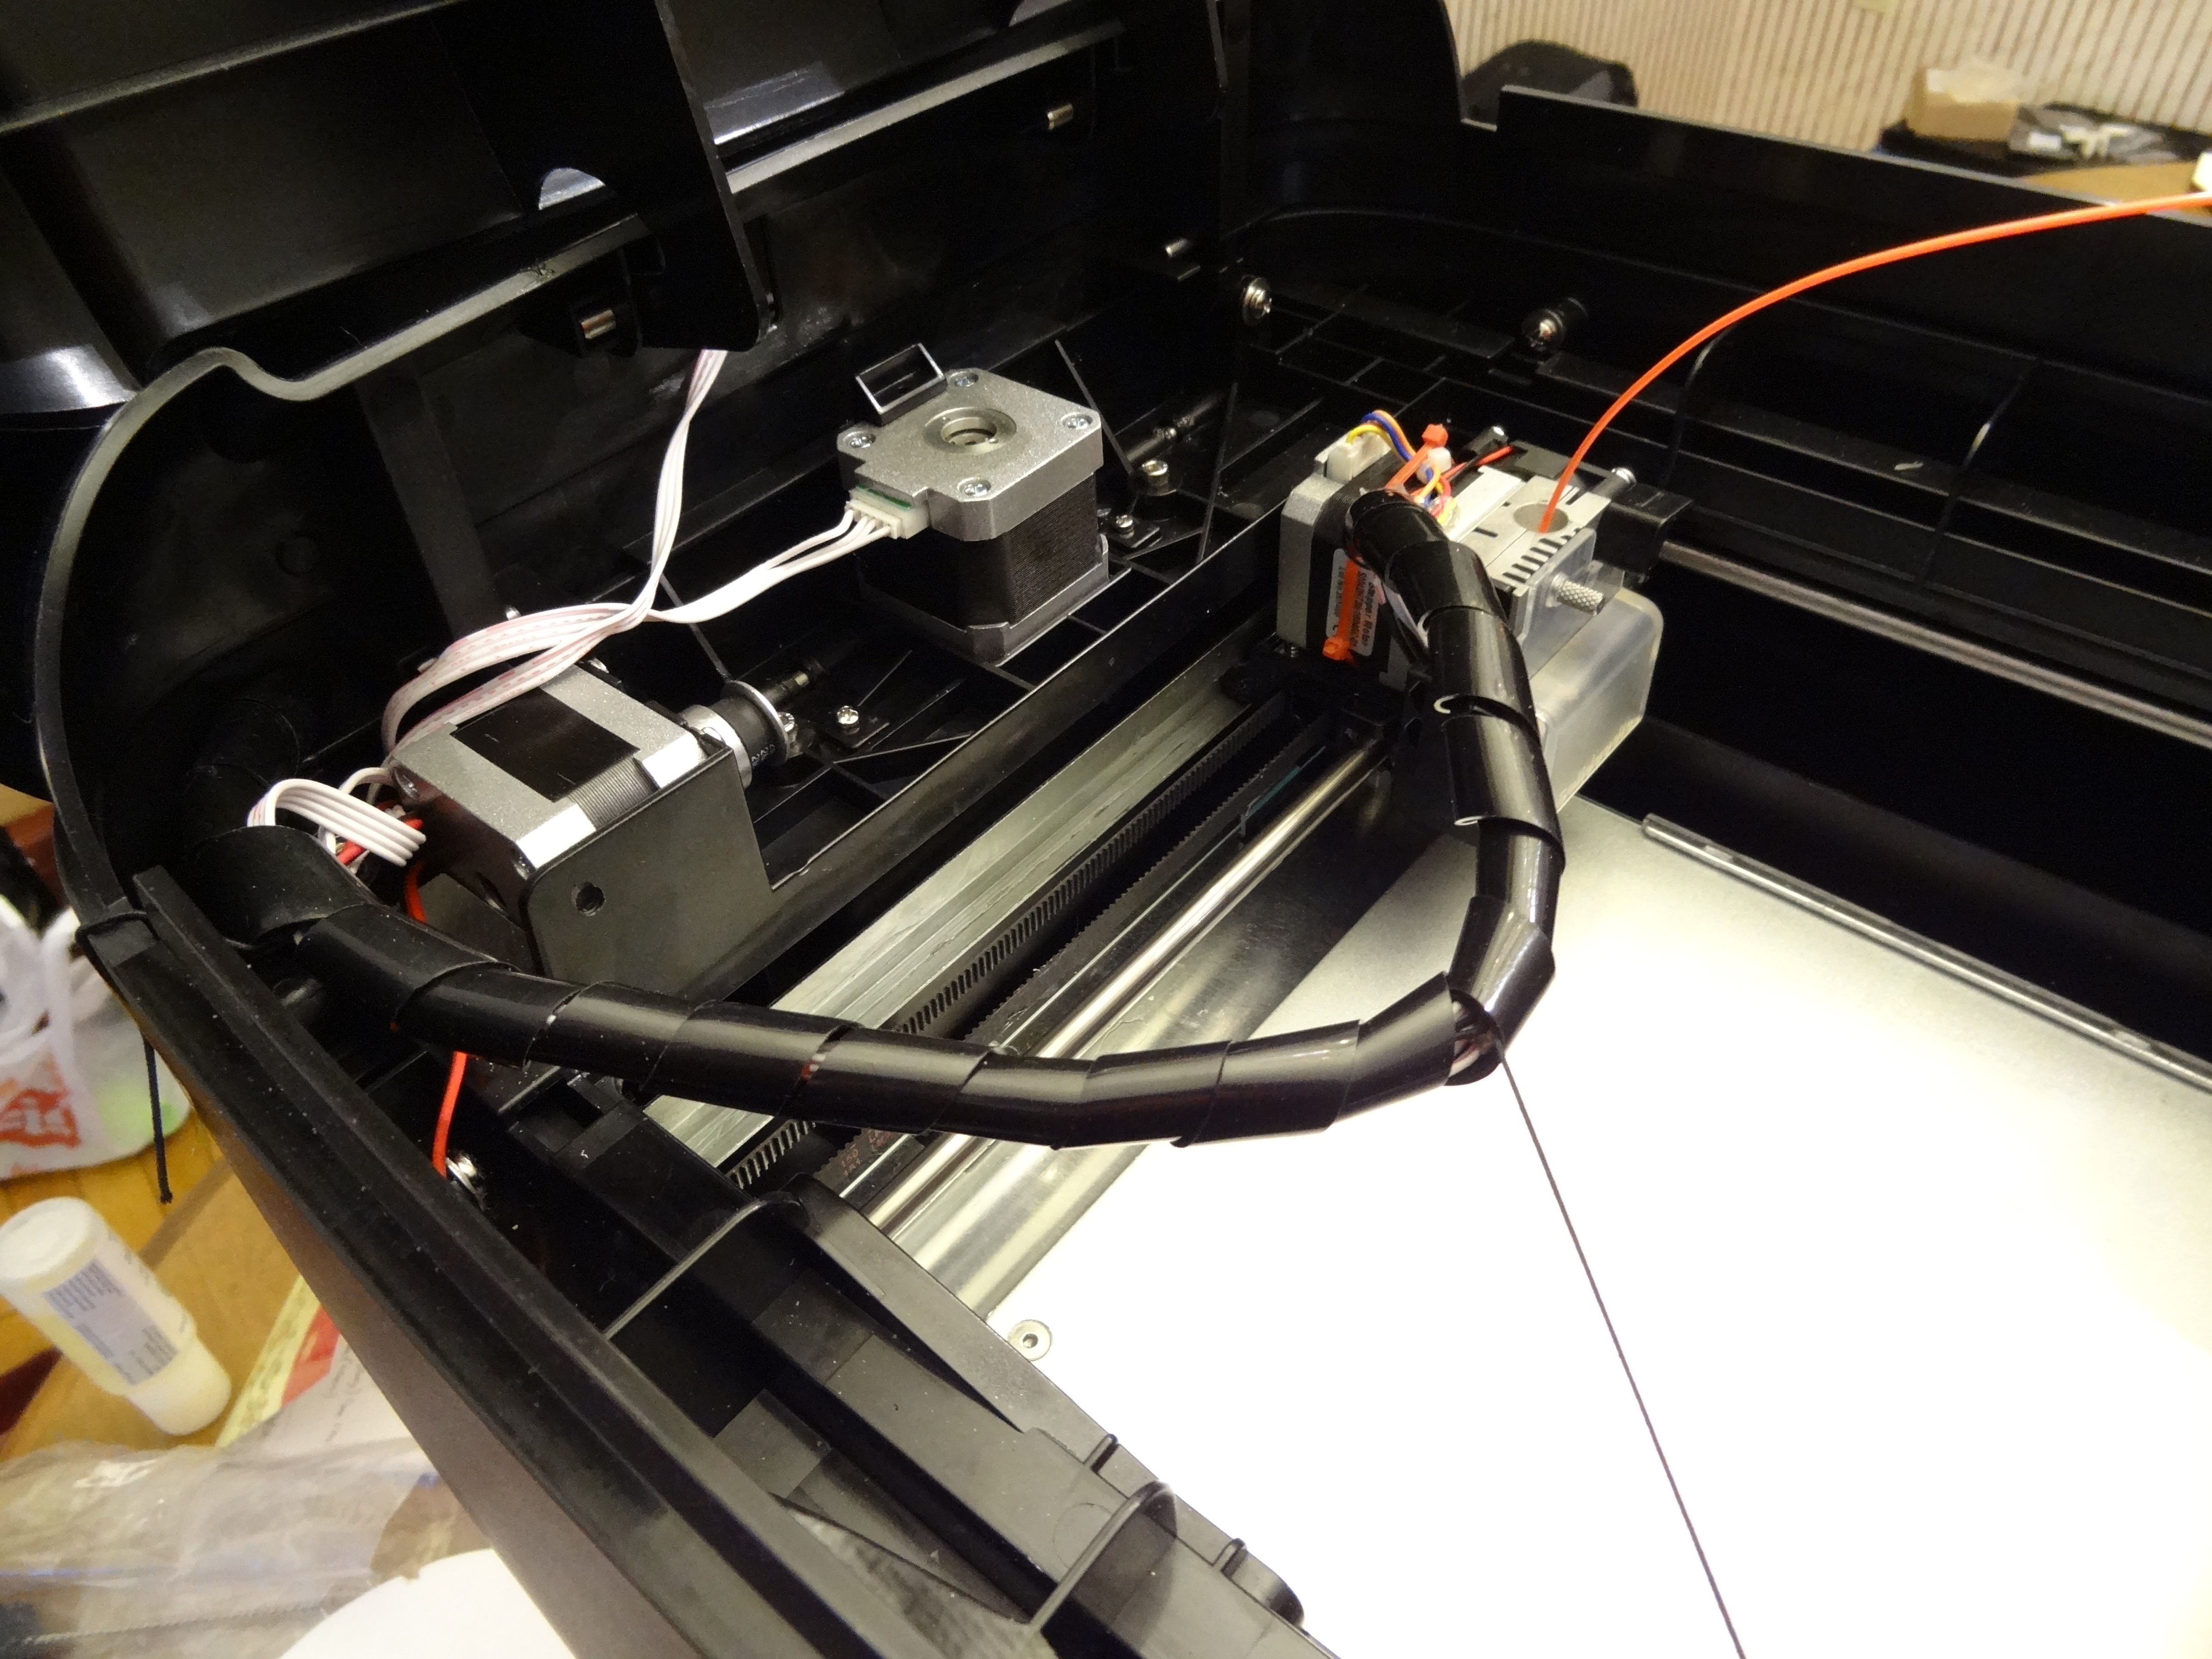
1. Remove (and discard!) the factory supplied black cable loom piece – if it is like mine, it is too stiff, too large, and too big in diameter. It just gets in the way.
2. Use a tywrap to fix the cable bundle at the head to the top side of the extruder motor. I also used some hot melt glue as an enhancement. The wires should come off of the left side of the head, low and with enough give for the Z probe to move.
3. Use some tywraps to make the cable bundle secure along its length back to where the wires enter the chassis.
3. Fix an elastic string (I got some at a fabric shop) to the cable bundle about midway, and hot melt glue it there and to the front left corner of the chassis. There will be some need for experimentation for the best “preload.” What this does is keep the cable assembly tensioned so that it remains relatively suspended no matter where the head is positioned.
4. Finally, use 1/4″ plastic spiral wrap (I tried 1/8″ and it is too tight) to cover the entire length of the cable.
If I can only get my regular day job of late done, I’ll be able to get to this fun stuff! 😉 And a new post with video will be there soon. This works fairly well so far but I remain convinced it is just an interim solution — something better is needed for the long term.


Hi eric could you please post how you fixed the knackered cable issue on the extruder? Its so frustrating
Same here Richard… this is getting ridiculous. Are we doing R&D for Solidoodle?
Yes, if it isn’t obvious by now, we are the beta testers… otherwise known as the “bleeding edge” of technology!
Yup my bad – pictures and method coming. It isn’t perfect, but it is a lot better. Should be up before the weekend of 2/14.