
Tags
Wow, seems like an eternity since last September and I’m long overdue for an update. First of all, there will be some new machines reviewed here in the coming months – most notably the PiMaker kit from the Kickstarter campaign, and the Qu-Bd Revolution machine. Both are expected to arrive in March. Look for some musings about the Cube and Cube 2 to be posted as well….
As for my Solidoodle 2, I’ve made some significant modifications. So in no particular order, here they are:
Power Supply
I really got tired of the dangling brick power supply, so I replaced it with a 12V, 12A unit and placed it inside of the case. The original unit was 12V, 10A. Because I like to take machines to technical events, the original design is not good as the wires on the 12V end are just placed into a screw terminal block. So to accomplish this, I also made the next change…
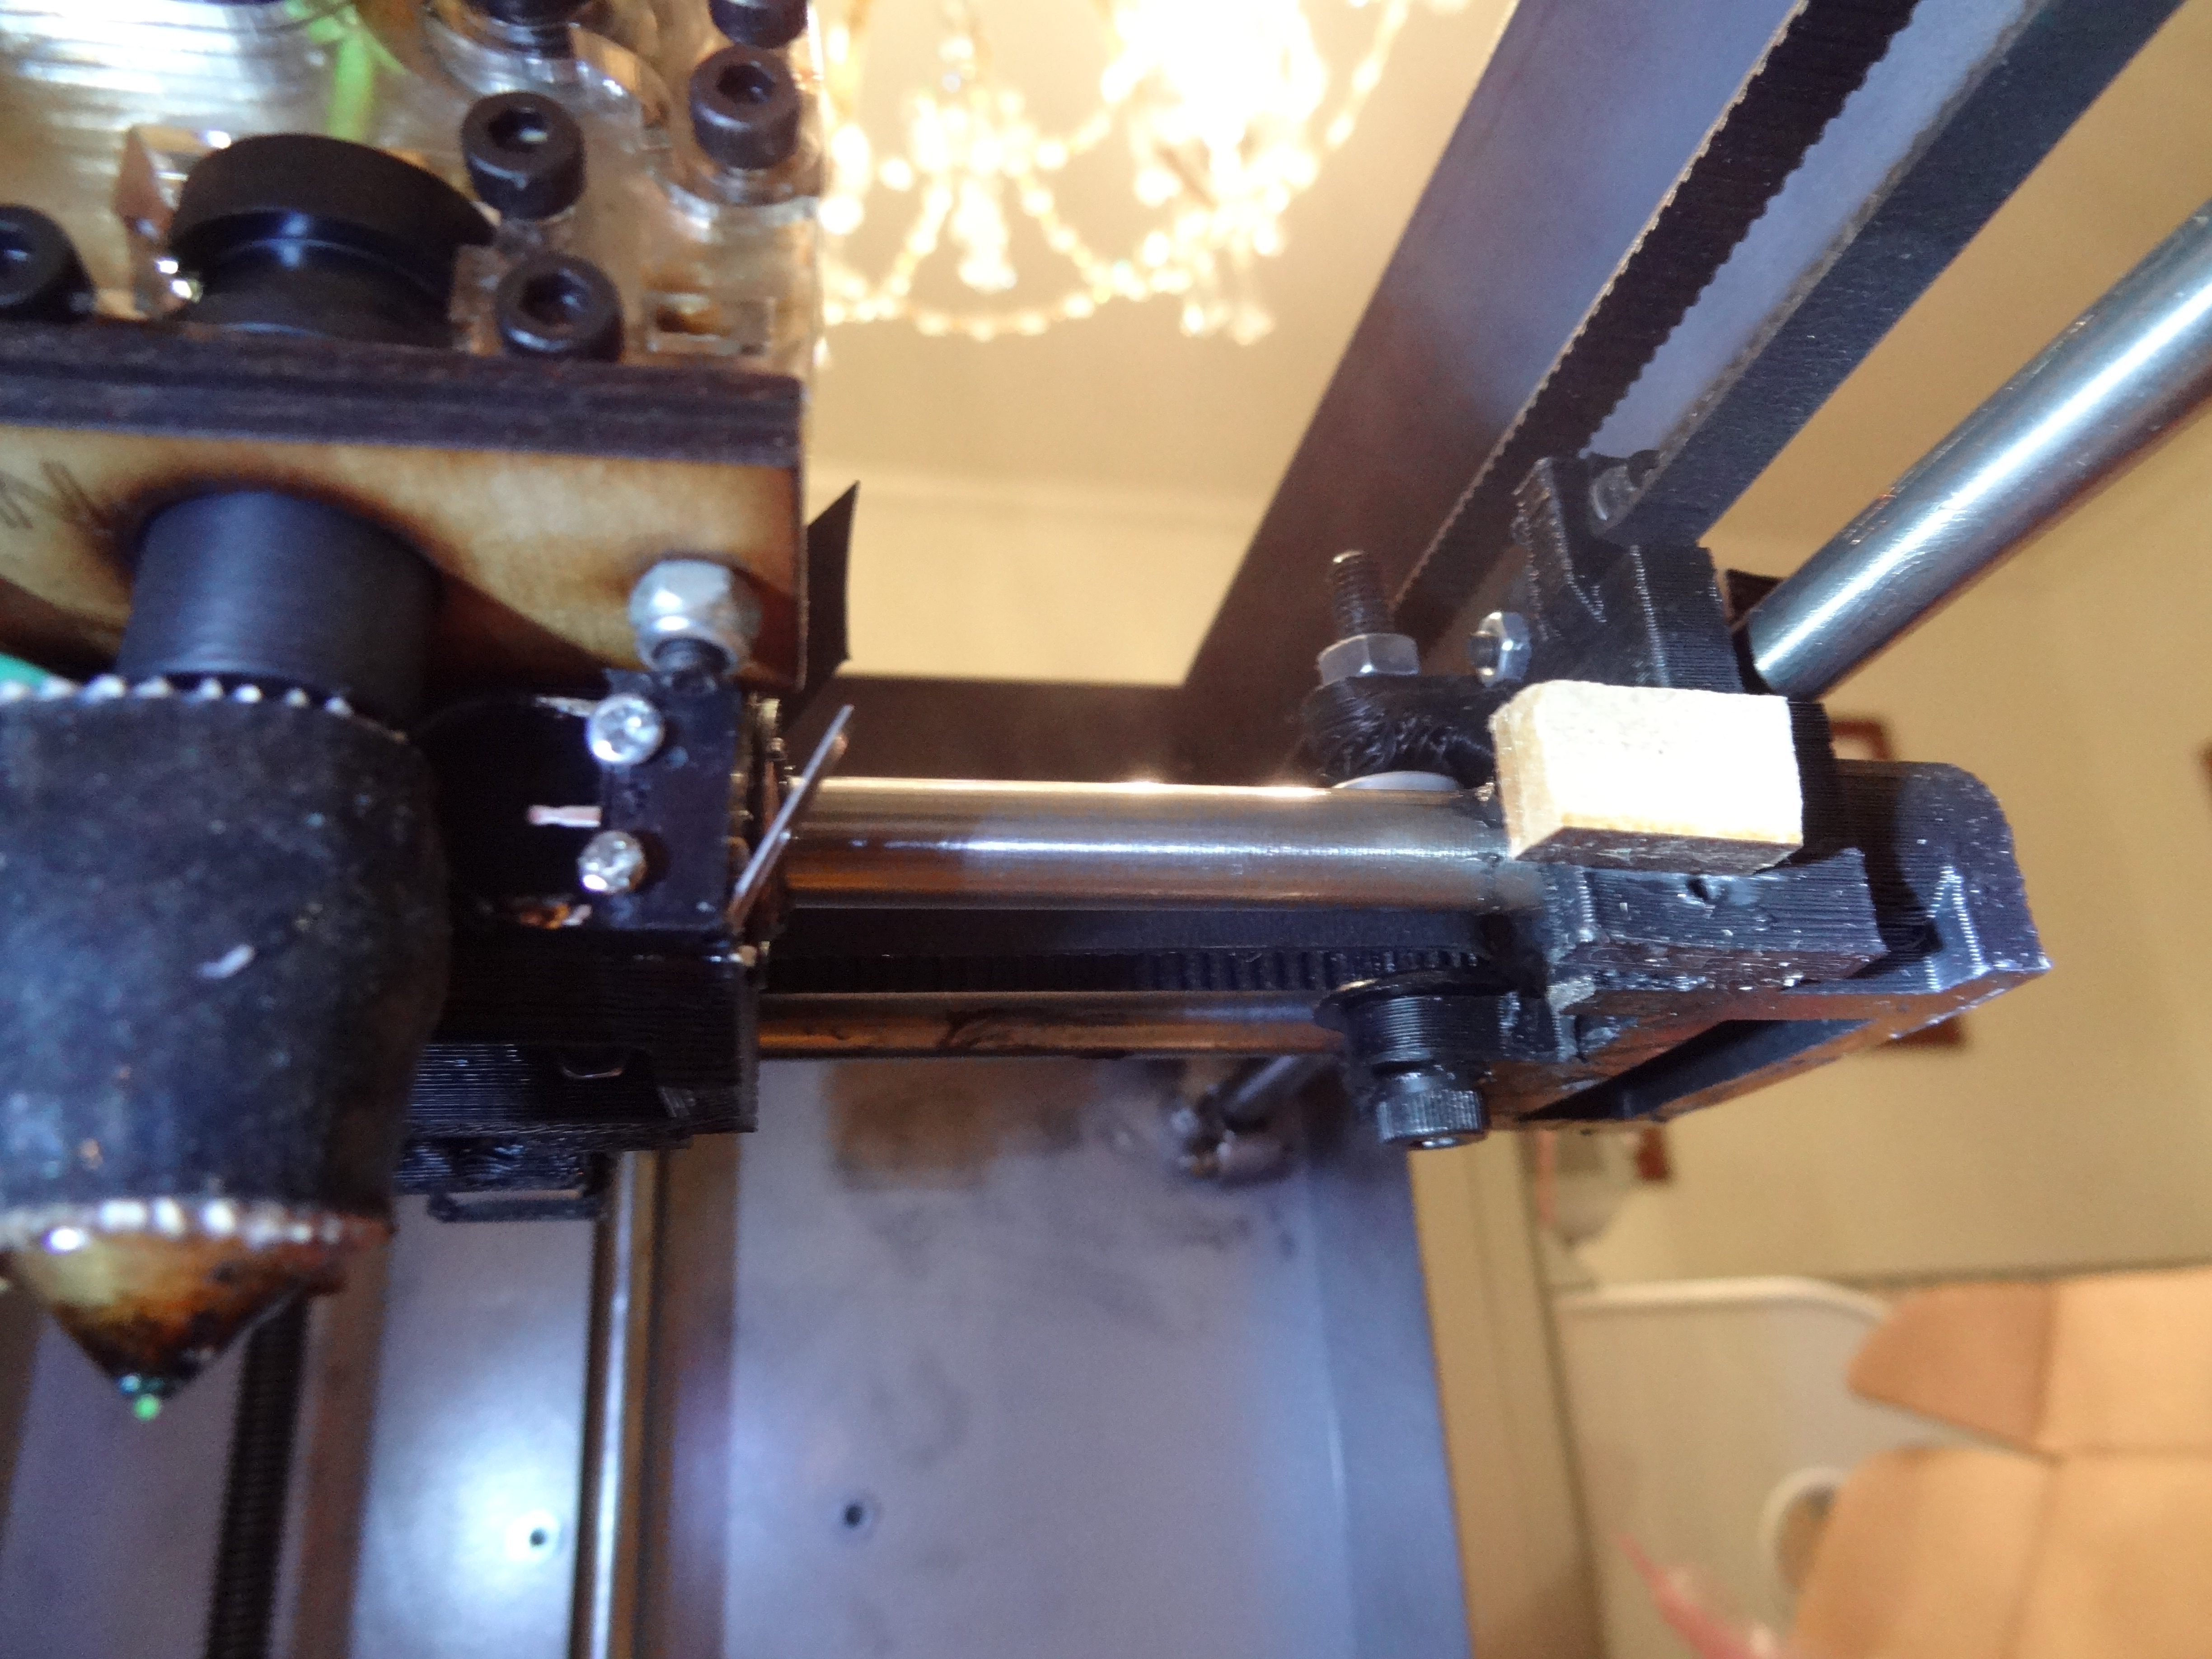
X Endstop Location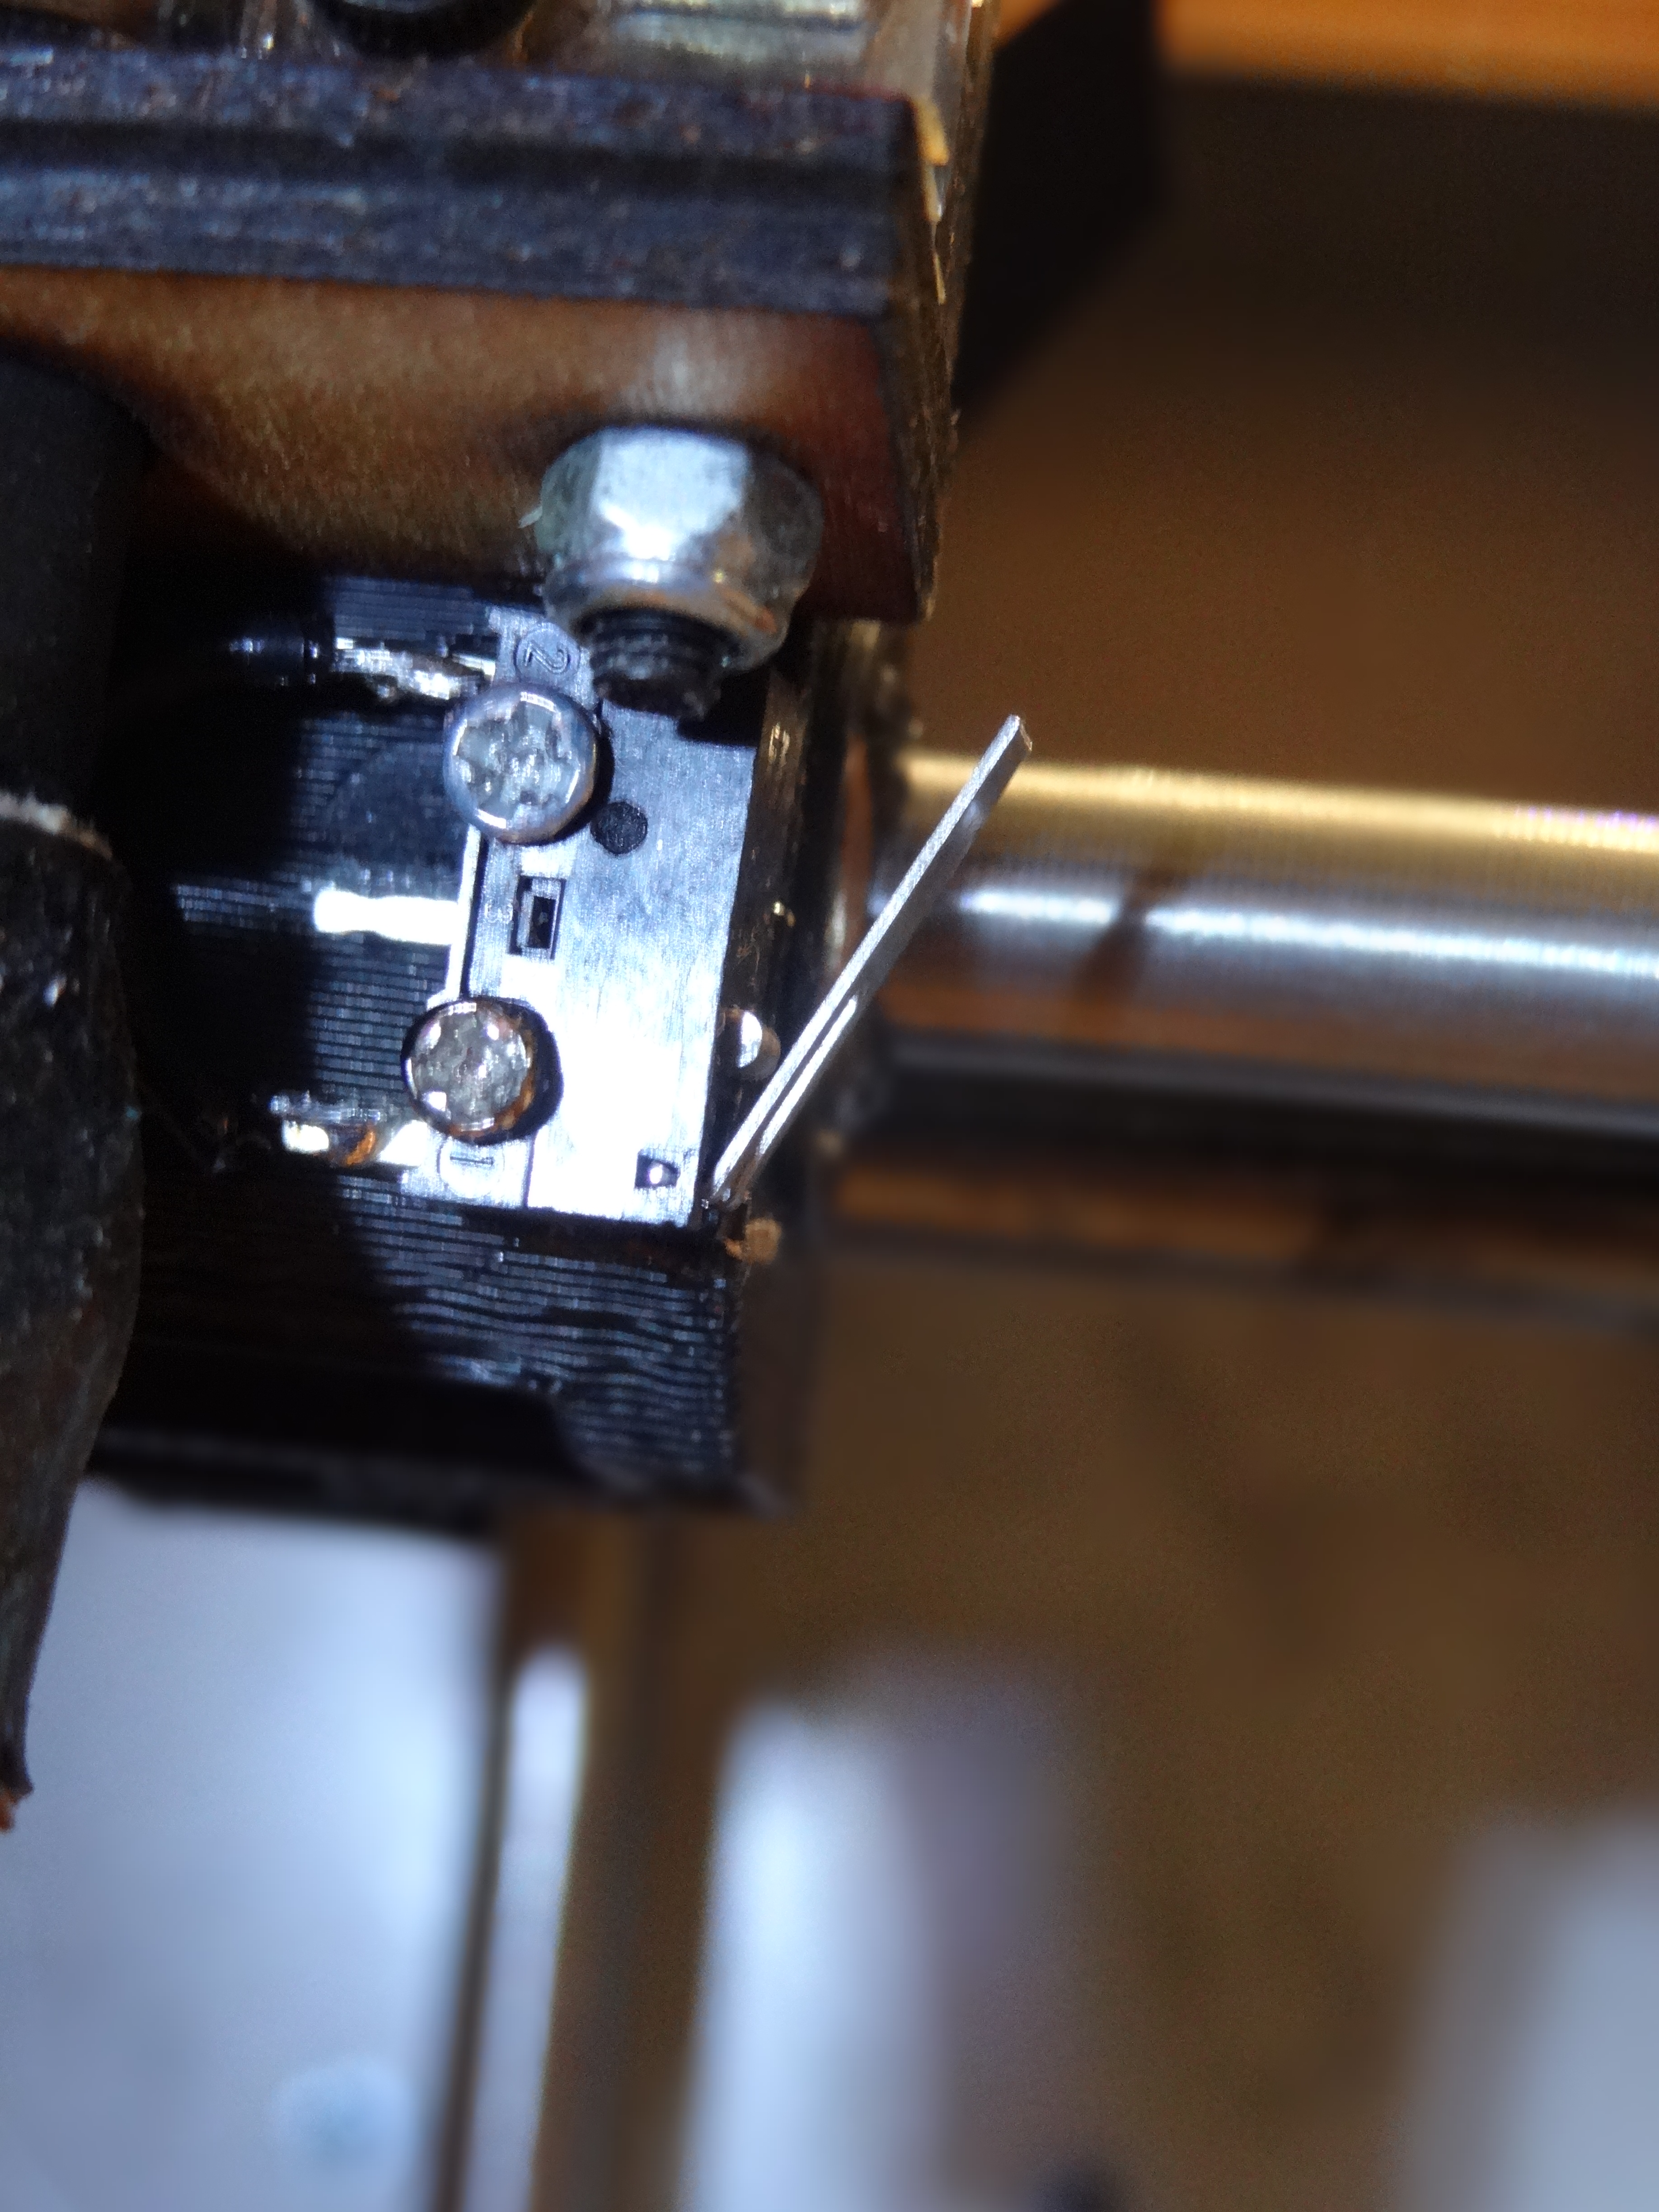
In the as received design, the X endstop is a switch mounted on the right end of the X axis. The wires for this are routed through the chassis and back under the Z axis. This was in the way for the location of the new power supply. So, I removed the switch, installed a smaller microswitch underneath the extruder mount, and added a fixed endstop plug where the original microswitch was mounted. The wiring for the new location now is in the same bundle that goes to the extruder. The pictures show it well, so I’ve included those here for you to see. The result is that now all of the wires that come from the lower left chassis grommet (looking from the front) now stay on the left side of the chassis! The wood stop was made from some scrap MDF board. I’ve left the MDF unpainted in these photos — much easier to see, but I later painted it black to match the plastic.
Electronics Cover and Fans
Again for reasons of making transportation easier
(as well as keeping the electronics cool) I think this should be a standard part of the unit but then at the $499 price it is probably not possible. The design is straight from Thingiverse thing noted here by lawsy: http://www.thingiverse.com/thing:31325
About the only thing left to do at this time is to attach some acrylic covers to the sides and a door to the front. I did not order the door/cover combo. I am gluing magnets to the acrylic sheets that are thick enough to also be spacers so that there is a small amount of venting of the inside. As for the door, two common hinges and a knob with the acrylic sheet will do nicely. This will keep prying fingers out of the box, but the top will still be open.


You must be logged in to post a comment.